

Image source: Bing (Web (fair-use with source credit))
Your cat means well. They really do. But that new leather sofa has become a scratching post, your curtains are fraying at the bottom, and you're tired of playing "dodge the claws" every time you reach down for a cuddle.
So, the question you're asking is: are cat nail caps worth it?
The short answer is yes, but only under the right conditions. They aren't a magic fix for every cat, and they require more upkeep than most people expect. In this guide, we'll break down exactly what they are, how they actually work, who they're best for, and where they fall short.
Manufacturer specifications and aggregate user reviews indicate that a standard set of nail caps lasts between four and six weeks before needing reapplication. That timeline alone dictates whether this solution fits your lifestyle.
Quick Answer
Nail caps are worth it for indoor cats that scratch furniture but tolerate paw handling. They're not worth it for cats that chew, hide, or violently resist having their feet touched. The average pack costs $15 to $25 and covers one full application cycle of 20 caps.
Success depends entirely on correct sizing, proper gluing technique, and consistent maintenance. If you can't commit to reapplication every four to six weeks, skip the caps and invest in better scratching posts instead.
Why This Comparison Matters
What we're really weighing: caps vs. the alternatives
Here's the thing about scratching: it's not optional for cats. It's a hardwired behavior tied to claw health, territory marking, and muscle stretching. You can't train it out of them, and punishing it just makes them anxious.
So the real question isn't "how do I stop my cat from scratching?" It's "how do I let my cat scratch without destroying my home?"
Nail caps sit at one end of the solution spectrum. At the other end, you have surgical declawing, which is now banned or heavily restricted in over 25 countries and several US cities because of the pain and behavior problems it causes. Then there's the middle ground: regular nail trims, scratching posts, pheromone sprays, and furniture protectors.
Each option has its own trade-offs. Caps are the only non-surgical solution that preserves the full scratching motion while making it harmless. That's their real appeal, and it's why they've gained so much traction among indoor cat owners as of 2026.
But that appeal comes with a caveat. Caps only work if they're applied correctly, sized perfectly, and refreshed on schedule. Miss one of those pieces and you'll be picking vinyl caps off your rug within a week.
The American Veterinary Medical Association discourages declawing as a routine procedure, which makes caps an increasingly popular middle ground for owners who want to protect their furniture without surgery.
How Cat Nail Caps Actually Work
What's in the pack, how the glue bonds, and what the cat feels
Let's start with the physical object. A nail cap is a tiny, hollow vinyl cone. It fits over the cat's claw like a thimble on a finger.
The blunt tip replaces the sharp point, so when your cat scratches, the surface feels the pressure but not the puncture.
Most brands, including the original Soft Paws and its competitors, use a medical-grade vinyl or polyurethane blend. The caps come in sizes ranging from kitten to extra-large, based on the width of the claw at its base. A typical pack includes 20 to 40 caps plus a tube of cyanoacrylate adhesive, which is the same family of glue used in surgical wound closure and super glue.
The application process is straightforward, but the devil is in the details. You trim the nail, clean the surface with an alcohol pad, fill the cap about halfway with adhesive, then press it over the nail and hold for 10 to 15 seconds. The glue bonds to the nail surface, not the skin, and the cap stays put as the nail grows out.
Now, the part most people don't think about: what does it feel like for the cat?
The caps are lightweight, typically less than half a gram each. Most cats adjust within a few hours and go back to normal behavior. Some cats, however, notice the change immediately and spend a day or two walking oddly, flicking their paws, or trying to chew the caps off.
This is why temperament matters so much in the "worth it" calculation.
One more critical detail: the caps rely on the natural nail growth cycle. As the claw grows, the cap moves forward with it. Eventually, it falls off on its own, usually around the four to six week mark.
That's the maintenance window. You can't just apply them once and forget.
The Pros and Cons, Honestly Weighed
What caps genuinely do well
- They're non-surgical. Caps involve no pain, no anesthesia, and no recovery period. Compared to declawing, they're a humane alternative.
- They preserve natural behavior. Your cat still scratches, still stretches, still marks territory. The only difference is the damage is gone.
- They protect people, too. If you have kids, elderly parents, or thin skin, caps eliminate accidental scratches during play or handling.
- They're visible. You can see when a cap is loose or missing, which makes monitoring easier than you'd think.
- They work on kittens. Most manufacturers recommend them for kittens 8 to 12 weeks and older, which means you can establish the habit early.
Where they fall short
- They need reapplication. Every four to six weeks, you're back to trimming, cleaning, gluing, and holding. That's 8 to 12 full reapplications a year.
- They fail on stressed cats. If your cat panics during paw handling, you'll both end up frustrated, and the caps will end up glued to the wrong things.
- They can cause infections if misapplied. If the cap sits too deep, it can press against the quick and cause pain. If moisture gets trapped underneath, you're looking at a potential bacterial or fungal issue.
- They're a choking hazard. Some cats chew caps off, and swallowing one can cause intestinal blockage. It's rare, but it happens.
- They change grip. Wood floors and climbing surfaces get trickier for cats wearing caps. Some cats adapt; some don't.
The honest take: caps are a tool, not a cure. They work brilliantly for the right cat and the right owner. For everyone else, they become a recurring chore with marginal results.
Side-by-Side: Nail Caps vs. The Alternatives
Declawing, regular trims, scratching posts, and behavior training compared
This is where the decision really gets made. Let's lay everything out side by side so you can see where caps fit in the broader landscape of claw management.

Image source: Bing (Web (fair-use with source credit))
| Method | Cost Per Year | Maintenance | Pain or Risk | Preserves Scratching |
|---|---|---|---|---|
| Nail caps | $60 to $100 (plus supplies) | Every 4-6 weeks | Low if applied correctly | Yes |
| Declawing | $200 to $800 (one-time) | None | High, irreversible, behavior risks | No |
| Regular nail trims | $0 to $120 (if groomer) | Every 2-4 weeks | Low | Yes, but less effective |
| Scratching posts | $30 to $80 per post | Replace as needed | None | Yes |
| Pheromone spray + deterrents | $50 to $150 | Weekly reapplication | None | Yes |
Now, let's be clear about what each option actually delivers.
Declawing is the most extreme choice. It's not a simple nail removal; it's an amputation of the last bone in each toe. The AVMA discourages it, and many countries have outright banned it.
The behavioral fallout, which includes litter box avoidance and increased biting, is well documented in veterinary literature. Skip it. The only reason it appears on this table is that some owners still consider it.
Regular nail trims are the cheapest and safest baseline. They blunt the claw's sharp tip, reducing damage. But they require more frequent attention, every two to four weeks, and they don't stop the scratching motion itself.
The claw still grips and pulls at fabric; it just doesn't penetrate as deeply.
Scratching posts are the gold standard for redirecting behavior. If you can train your cat to scratch a sisal post instead of your sofa, you don't need caps at all. The catch is placement, texture, and consistency.
Most owners give up too early and blame the cat.
Pheromone sprays and deterrents like Feliway or double-sided tape work in conjunction with other methods, rarely alone. They reduce stress-related scratching but don't stop the behavior entirely.
So where do caps fit? They're the best middle ground for cats that scratch furniture despite having good posts. They're also a strong option for multi-cat households where play aggression gets too rough.
And they're genuinely the only humane way to make scratching completely harmless.
The trade-off is maintenance. Caps demand active ownership. Trims also demand it, but they're quicker and require no glue.
Posts require an upfront behavioral investment but then run on autopilot.
If you're the kind of owner who handles routine grooming without drama, caps will feel easy. If you dread the idea of pinning your cat down once a month, posts and trims are better allies. There's no universal right answer, only the answer that matches your actual situation.
Best For: Who Should (and Shouldn't) Use Caps
Ideal candidates: indoor cats, kittens, multi-cat homes
Let's get specific about which cats actually thrive with nail caps. This is where most online advice goes vague, and where the real decision gets made.
Indoor-only cats are the sweet spot. They don't need their claws for climbing, defense, or hunting. Their scratching serves a behavioral purpose, not a survival one. Caps let them scratch to their heart's content without turning your arm into a pincushion.
Kittens between 8 and 16 weeks are surprisingly good candidates. Their nails are still soft and their growth rate is fast, which means caps fall off sooner, but their adaptability is higher. A kitten that grows up wearing caps accepts them as normal. Several owners report that kittens trained this way never fight the application process as adults.
Multi-cat households see real benefits too. Play aggression between cats can get rough, and accidental scratches are common. Caps reduce the damage during wrestling matches and resource disputes. They're particularly useful if one cat is elderly or has thin skin.
Skip them if: your cat chews, hides, or hates paw handling
Now the hard truths. Caps are a non-starter for certain personalities.
Cats that chew or bite at anything on their body will destroy caps. Some cats see the caps as a foreign object and immediately try to gnaw them off. Chewed caps are a choking hazard and a digestive risk. If your cat has a history of eating string, rubber bands, or plastic, caps are a gamble you shouldn't take.
Cats that panic during paw handling are a lost cause. The application process requires you to hold each paw, press on the nail to extend the claw, and keep pressure for 15 seconds while glue dries. A cat that's thrashing, hissing, or biting during nail trims will make this impossible. You'll both end up stressed, and the caps will be applied poorly.
Senior cats with mobility issues may struggle. Caps change the friction between paw and floor. Older cats already navigating arthritis or joint pain can find the altered grip disorienting. If your cat is already hesitant to jump or slip-prone, caps can make things worse.
Here's a simple decision test. Trim one of your cat's nails. If the cat allows it with minimal fuss, caps are viable.
If you're wrestling, wrapping in a towel, or chasing, caps will be a monthly nightmare. Trust that signal.
Step-by-Step: Applying Caps Without Losing a Finger
Prepping the nails, sizing, gluing, and holding still
The first application takes about 20 minutes. The process gets faster with practice, down to around 10 minutes once you've done it a few times. Here's the full sequence.

Image source: Bing (Web (fair-use with source credit))
Before you start, gather everything. You'll need the caps, the adhesive, an alcohol pad or cotton ball with rubbing alcohol, a nail trimmer, and a towel for wrapping if your cat gets squirmy. Have it all within arm's reach. You don't want to be holding a cat with glue-wet caps and searching for the alcohol pad.
Step 1: Size the caps. Each cap has an opening diameter measured in millimeters. Hold the cap next to the nail and compare. The cap should fit snugly over the nail without being forced.
If you have to press hard to seat it, it's too small. If it slides on without any resistance, it's too loose.
Step 2: Trim the nails. Caps fit best on short nails. Trim each nail to the quick, just like you would for a normal trim. Shorter nails mean the cap sits closer to the paw and has a better grip.
Step 3: Clean the nail surface. Wipe each nail with an alcohol pad to remove any oils or debris. This is critical. The adhesive bonds to a clean, dry surface.
A single greasy spot can cause the cap to pop off within days.
Step 4: Fill the cap with adhesive. Squeeze a small amount of glue into the cap, filling it about a third to halfway. Too much glue and it will seep out around the edges and stick to fur. Too little and the cap won't hold.
Step 5: Press and hold. Slide the cap onto the nail and seat it fully. Hold it in place for 10 to 15 seconds. The glue needs time to set.
Don't rush this step.
Step 6: Let the cat be. Once all caps are applied, let the cat roam free. Avoid touching their paws for at least 10 minutes while the adhesive cures fully.
One pro trick: apply caps to the front paws only. The front paws do the vast majority of damage, and they're much easier to work with. Hind paws are rarely the problem.
Another tip: have a helper hold the cat while you apply. One person wraps the cat in a towel and exposes one paw at a time. The other person handles the trimming and gluing.
This cuts the stress for everyone involved.
Common Mistakes That Make Caps Fail
Sizing errors, overfilling glue, and skipping the "hold" phase
Most cap failures trace back to a handful of mistakes. Here's what goes wrong and how to avoid it.
Wrong size is the number one culprit. Caps that are too small crack or fall off within days. Caps that are too large slide off or trap moisture against the nail. Measure carefully.
When in doubt between two sizes, go with the larger one. A snug fit beats a tight fit.
Overfilling the glue causes a mess. Excess adhesive seeps out and bonds to the fur around the nail. This is painful for the cat and creates a matted mess you'll have to cut out. It also prevents the cap from seating fully, which means it'll fall off early.
Skipping the alcohol wipe is a silent killer. Natural oils on the nail prevent the glue from bonding properly. The cap looks fine for the first few days, then pops off during a vigorous scratch session. Clean every nail right before application.
Rushing the hold time. Ten seconds feels long when you're holding a squirming cat. But cutting it short means the caps aren't fully bonded. Wait the full 15 seconds for each cap.
Applying caps to damp nails. A cat that's been grooming or just had a drink won't have dry nails. The moisture interferes with the adhesive. Always apply caps in a dry environment, away from water bowls and humid bathrooms.
Forgetting to check caps weekly. Caps can loosen as the nail grows. A quick weekly check catches loose caps before they fall off in a dangerous place. It takes 10 seconds and prevents most problems.
Using the caps as a declawing alternative without acknowledging the maintenance. This is the biggest mistake of all. Caps don't end scratching maintenance. They shift it from nail trims to cap reapplication.
If you go in expecting a zero-maintenance solution, you'll be disappointed by week four.
Maintenance: The 4-6 Week Cycle You Can't Skip
What re-application looks like, and how to spot trouble early
Once the caps are on, the clock starts ticking. Here's what the full maintenance cycle looks like.
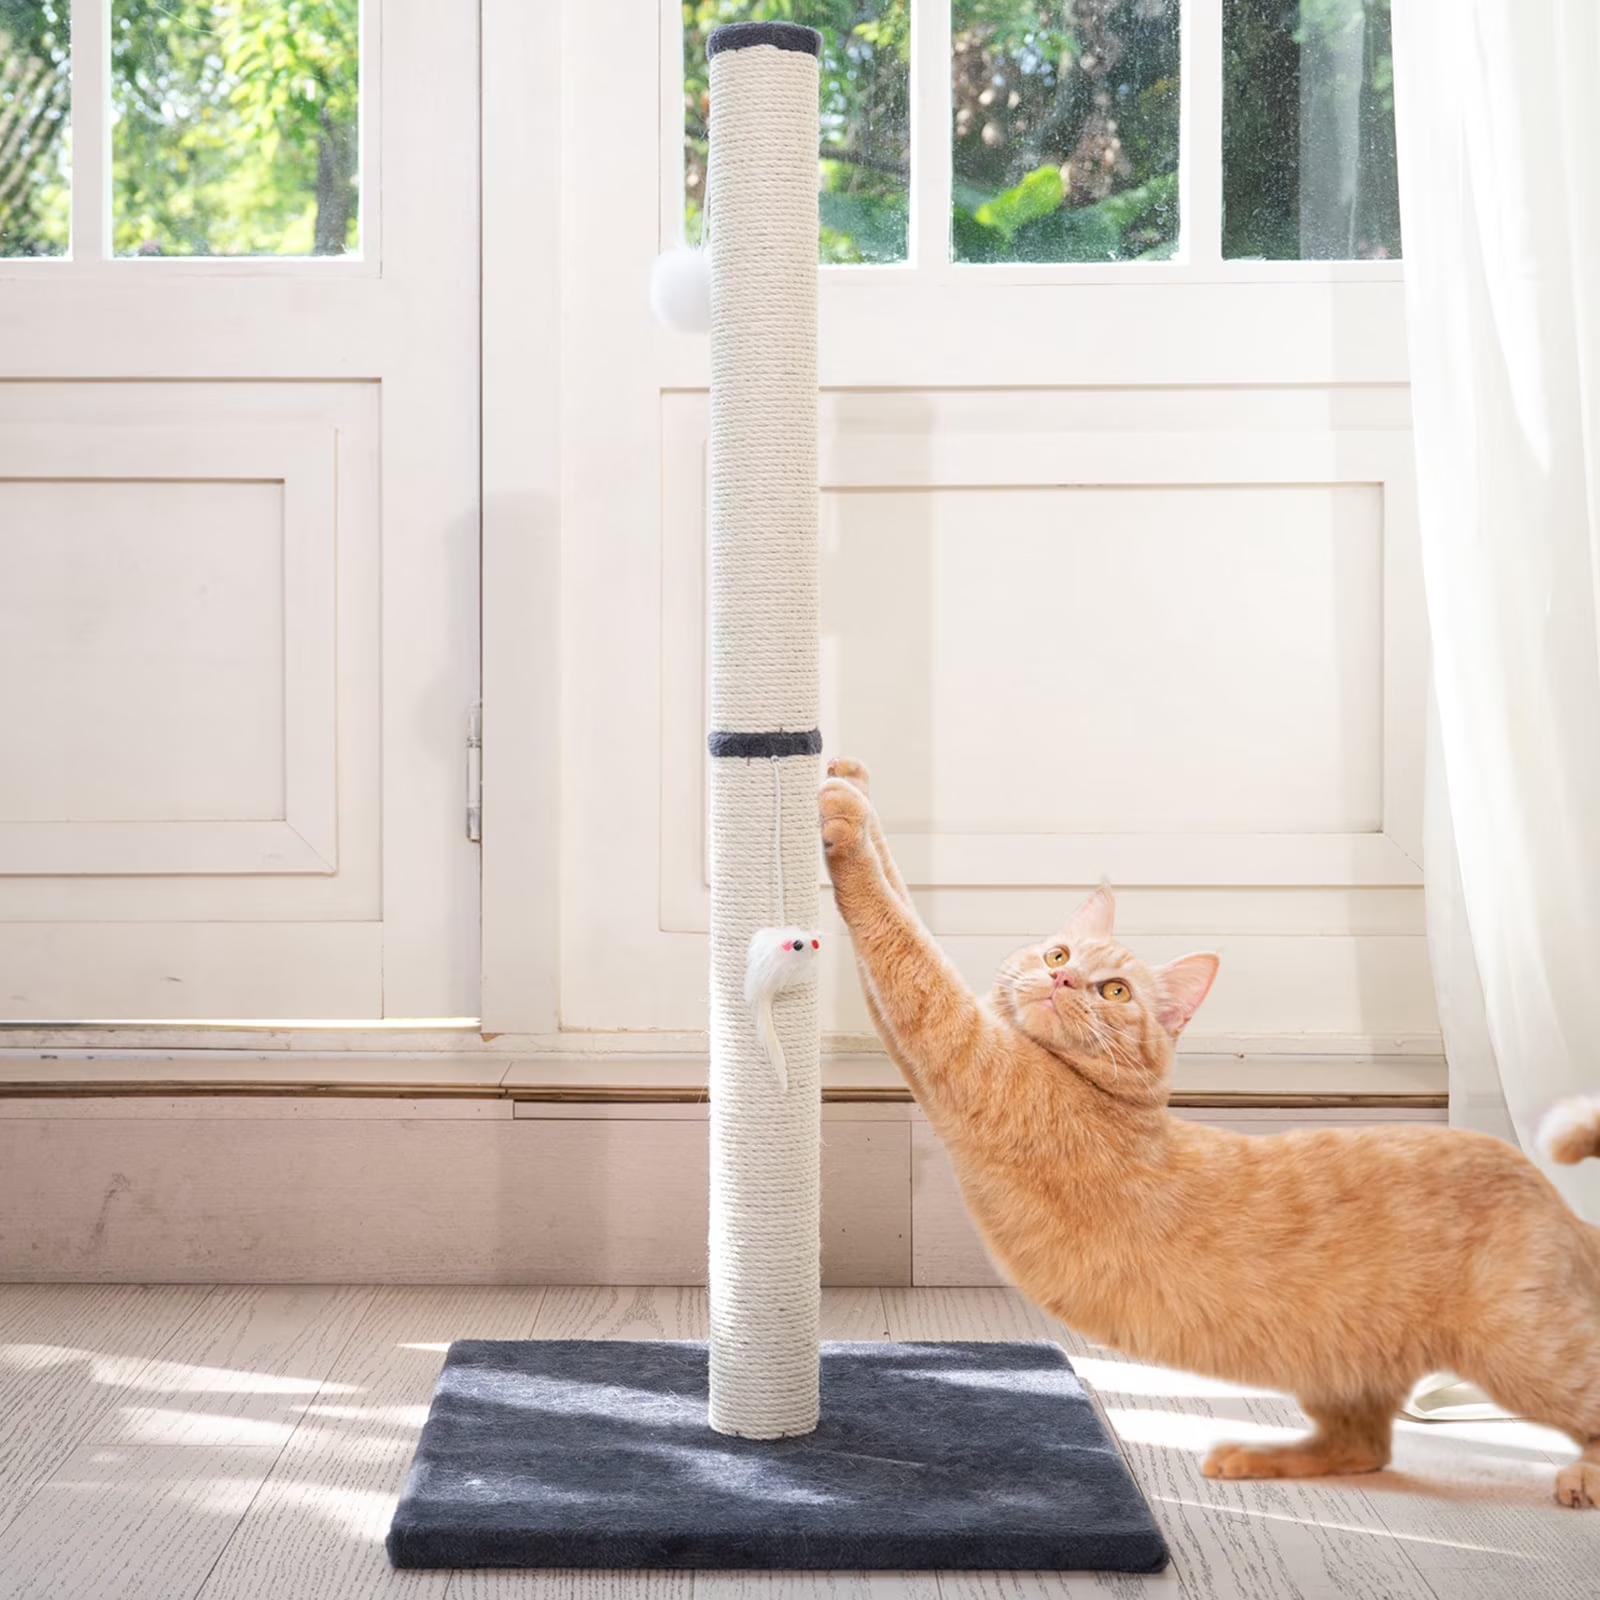
Image source: Bing (Web (fair-use with source credit))
Weeks 1 and 2 are smooth sailing. The caps are bonded, the cat has adjusted, and you're enjoying a scratch-free sofa. Enjoy it. This is the payoff phase.
Week 3 brings the first loose caps. As nails grow, the caps move away from the paw. The fit becomes looser. You'll start finding caps on the floor, usually near scratching posts or favorite lounging spots.
Weeks 4 to 6 is reapplication time. The timeline varies per cat. Kittens need new caps every three to four weeks. Adult cats stretch to five or six weeks.
Senior cats with slower nail growth can sometimes go seven weeks.
You have two options at this point. Remove the remaining caps and start fresh, or wait for all caps to fall off naturally and then reapply. Most owners go with the second option, since pulling off caps that are still partially bonded is uncomfortable for the cat.
Watch for these warning signs during the cycle:
- Redness or swelling at the nail base. This signals infection or irritation. Remove the cap immediately.
- Excessive licking of the paws. The cat may be reacting to trapped debris or an allergic response to the adhesive.
- Slipping or hesitation when jumping. This indicates the caps are affecting grip. Some cats adjust; others don't.
- Caps that stay on past eight weeks. Nails overgrow and curve. This can cause the cap to dig into the paw pad. Never let caps stay on indefinitely.
Extend the cycle with regular nail trims. Between cap applications, trim the exposed nail portion as it grows. This keeps the nail at a healthy length and prevents the cap from sitting too far from the paw.
The maintenance rhythm is simple: apply, monitor, reapply. It's a recurring task, not a one-time fix. If that rhythm sounds manageable, caps are a solid choice.
If it sounds like a chore you'll resent, the alternatives might serve you better.
Cost Breakdown: What You're Really Paying Per Year
Pack prices, frequency, and the hidden cost of failed applications
Let's talk money. Not just the sticker price, but the real annual cost of nail caps.
The average pack costs $15 to $25. This includes 20 to 40 caps plus a tube of adhesive. One pack covers one full application for an average cat (20 caps for the front paws, or 40 if you're doing all four paws).
You'll need about 8 to 12 packs per year. At four to six weeks per cycle, that's roughly 8 to 12 reapplications annually. At $20 per pack, you're looking at $160 to $240 per year.
The premium brands cost more. Original Soft Paws and other high-end options run $25 to $35 per pack. That pushes the annual cost to $200 to $400.
Generic brands are cheaper but inconsistent. Some budget packs work perfectly. Others have caps that crack, glue that doesn't bond, or sizing that runs wildly off. Verified buyer feedback on generic brands is mixed, so budget for the possibility of wasted packs.
Factor in the retry rate. Even experienced applicators lose a few caps early. Aggressive scratchers may pop caps within the first week. Budget an extra 10 to 20 percent for replacements.
Compare that to the alternatives. Regular nail trims at a groomer run $10 to $20 per visit, or $120 to $240 per year. At-home trims cost $10 for a good pair of clippers, one-time. Scratching posts run $30 to $80 each, replaced every year or two.
The hidden cost is time. Each application takes 15 to 20 minutes for the first paw, faster with practice. At 10 reapplications per year, that's three to four hours annually dedicated to cap maintenance. Time isn't money, but it is effort, and effort is the real currency here.
The bottom line: caps are comparable in cost to professional grooming, more expensive than at-home trims, and cheaper than both declawing and repeated furniture replacement. They're a mid-tier investment in both money and effort.
If a $300 sofa is on the line, one year of caps pays for itself. If your cat only attacks a $20 scratching post, the math gets harder to justify.
Safety and Warning Signs to Watch For
When caps can cause harm, and when to call your vet
Nail caps are generally safe when applied correctly. But "generally safe" isn't the same as "risk-free." There are specific situations where caps can cause real harm, and you need to know them before you start.
The biggest risk is applying the cap too deeply. The cap should sit over the nail, not press against the paw pad. If you force a cap on too far, it presses against the quick, which is the sensitive tissue inside the nail. This causes pain, inflammation, and can lead to infection.
The cat will let you know with loud protests and frantic paw shaking.
Trapped moisture is the second major risk. Debris, litter dust, and moisture can accumulate between the cap and the nail. Over time, this creates a breeding ground for bacteria and fungi. The result is a condition called paronychia, an infection of the nail bed that appears as redness, swelling, and discharge.
Ingestion is a genuine emergency. Some cats manage to chew caps off. If your cat swallows one, it can cause an intestinal blockage. Symptoms include vomiting, loss of appetite, lethargy, and abdominal pain.
If you suspect your cat has swallowed a cap, contact your veterinarian immediately.
Allergic reactions to the adhesive are rare but real. Some cats develop contact dermatitis at the base of the nail. This appears as red, itchy, inflamed skin around the nail. If you see this within a few days of application, remove the caps and switch to a different brand or adhesive.
The AVMA and other veterinary organizations have no formal position against nail caps. They're considered a humane alternative to declawing. However, veterinarians strongly recommend against caps for cats with existing paw or nail conditions. If your cat has fungal infections, brittle nails, or skin allergies, consult your vet before using caps.
Here's your warning sign checklist:
- Swelling or redness around any nail base
- Discharge that's yellow, green, or bloody
- Limping or refusing to put weight on a paw
- Excessive licking focused on one paw
- Chewing at caps even after the adjustment period
- Caps that stay on beyond 8 weeks
If you see any of these signs, remove the affected cap and monitor the nail for a few days. If symptoms persist, call your vet. Don't wait it out.
Real Scenarios: What Owners Actually Report
The kitten that shredded the sofa
Sarah adopted an 8-week-old kitten named Mochi. Within two weeks, the kitten had destroyed the arm of a brand-new sectional. Sarah tried scratching posts, sprays, and redirecting.
Nothing stuck. Mochi preferred the sofa's woven fabric over any sisal surface.
Sarah applied her first set of caps when Mochi was 12 weeks old. The kitten squirmed through the first application, but she adapted within a day. By the third application, Sarah could complete the whole process in 12 minutes without a towel wrap.
Mochi is now 9 months old and has worn caps continuously. The sofa is intact, and Mochi still scratches her favorite spots without causing damage.
The takeaway: kittens adapt to caps fastest. Starting early builds tolerance.
The senior cat that resents paw handling
Marcus adopted a 9-year-old tabby named Oliver from a shelter. Oliver had never had his nails trimmed in his previous home. His claws were overgrown, and he reacted violently to any attempt to touch his paws.
Marcus hoped caps would solve the furniture damage problem.
The first application took 40 minutes and required two people, a thick towel, and several treats. Oliver chewed off three caps within the first hour. The remaining caps lasted four days before falling off due to improper seating.
Marcus tried twice more with the same results. He eventually gave up on caps entirely and invested in a heavy-duty scratching post plus weekly nail trims at the vet.
The takeaway: age and past trauma matter. Cats that fear paw handling will not tolerate caps, no matter how patient you are.
The multi-cat household that found peace
Jenna had two cats, a 2-year-old female and a 4-year-old male. They wrestled constantly, and the female was prone to scratching during play. The male had thin skin and frequently ended up with small cuts on his ears and nose.
Jenna applied caps to the female only. The front paws got a full set. The male kept his natural claws.
Within a week, the play aggression continued, but the damage stopped. The female's caps blunted the scratches, and the male's injuries healed. After three months, the female has acclimated to caps as routine.
Jenna reapplies every five weeks without drama.
The takeaway: you don't need to cap every cat. Target the one causing the damage.
Final Verdict: Is It Worth It for You?
A simple decision guide based on your cat's behavior and your patience level
We've covered a lot of ground. Let's condense it into a decision framework you can actually use.
Choose nail caps if:
- Your cat is indoor-only
- Your cat tolerates nail trims without a wrestling match
- You're looking for a humane alternative to declawing
- You can commit to a 4 to 6 week reapplication cycle
- Your cat doesn't chew at foreign objects on their body
- You have furniture you genuinely care about protecting
Skip nail caps if:
- Your cat panics during paw handling
- Your cat chews or bites at anything on their paws
- You're not willing to maintain the schedule
- Your cat has existing paw or nail conditions
- Your senior cat has mobility or joint issues
- You'd rather invest in behavioral solutions like scratching posts
The decision in one sentence: Caps are worth it when the cat's temperament and the owner's consistency line up. If either is missing, they become a frustrating chore.
Start with a trial run. Buy one pack. Apply caps to the front paws only. Watch how your cat reacts for 48 hours.
If the cat adjusts and the caps stay on, you have your answer. If the cat is miserable or the caps fail, you've spent $20 and learned something valuable.
Frequently Asked Questions
Do nail caps hurt cats?
No, when applied correctly. The caps sit over the nail, not the skin, and they don't cause pain. Discomfort happens when caps are applied too deeply, pressing against the quick, or when moisture gets trapped underneath.
Watch for signs of limping or excessive licking in the first few days.
How long do nail caps last?
Most caps last between 4 and 6 weeks. The timeline depends on the cat's nail growth rate. Kittens grow nails faster and may need reapplication every 3 weeks.
Senior cats with slower growth can stretch to 7 weeks. When the caps loosen and fall off naturally, the cycle is complete.
Can cats still scratch with caps on?
Yes, completely. Cats can still extend their claws, pull at surfaces, and perform the full scratching motion. The caps simply blunt the sharp point.
That means the behavior stays natural while the damage becomes minimal. This is the core advantage of caps over declawing, which removes the behavior entirely.
Are nail caps safe for kittens?
Manufacturers and veterinarians generally approve caps for kittens 8 to 12 weeks and older. Their nails are softer and their growth rate is faster, so caps may fall off sooner. However, kittens adapt more quickly than adult cats.
Starting early establishes tolerance for the application process that lasts into adulthood.
What happens if a cap stays on too long?
Nails grow continuously. A cap left on past the 6 to 8 week mark can cause the nail to overgrow and curve. In extreme cases, the nail can dig into the paw pad.
Check caps weekly and remove them after about 6 weeks to prevent this problem. Never leave a cap on indefinitely.
Will my cat still knead with caps on?
Yes, kneading works fine with caps. The blunt tips prevent the tingling sensation that drives some cats to scratch soft surfaces. Many owners report that caps actually reduce the frantic kneading-and-scratching behavior because the paw no longer gets caught on fabric.