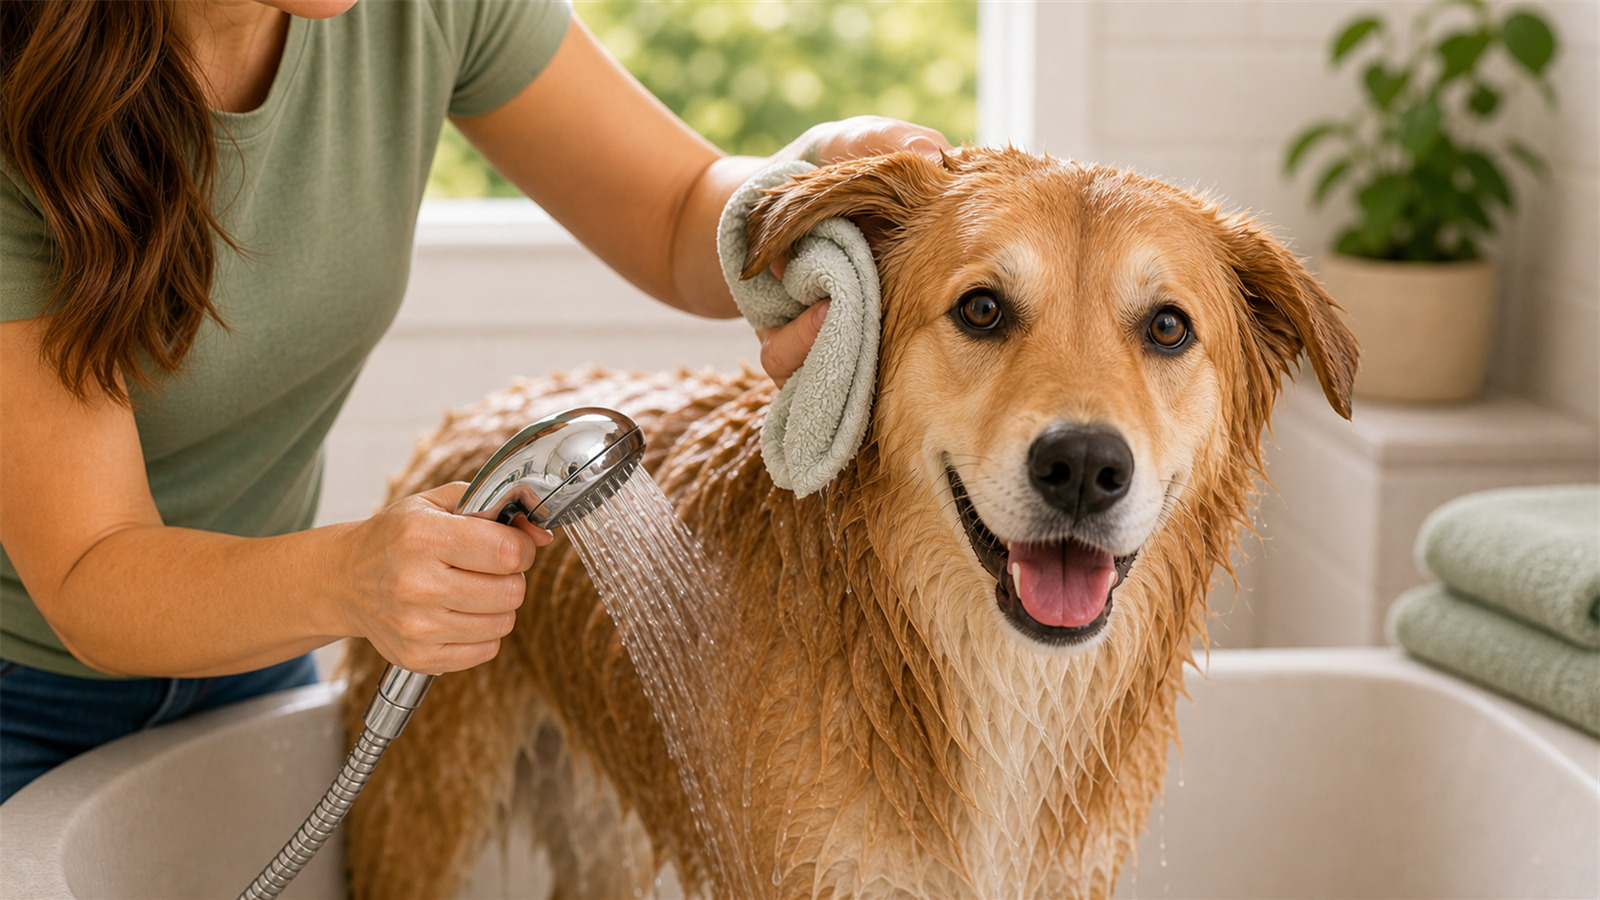
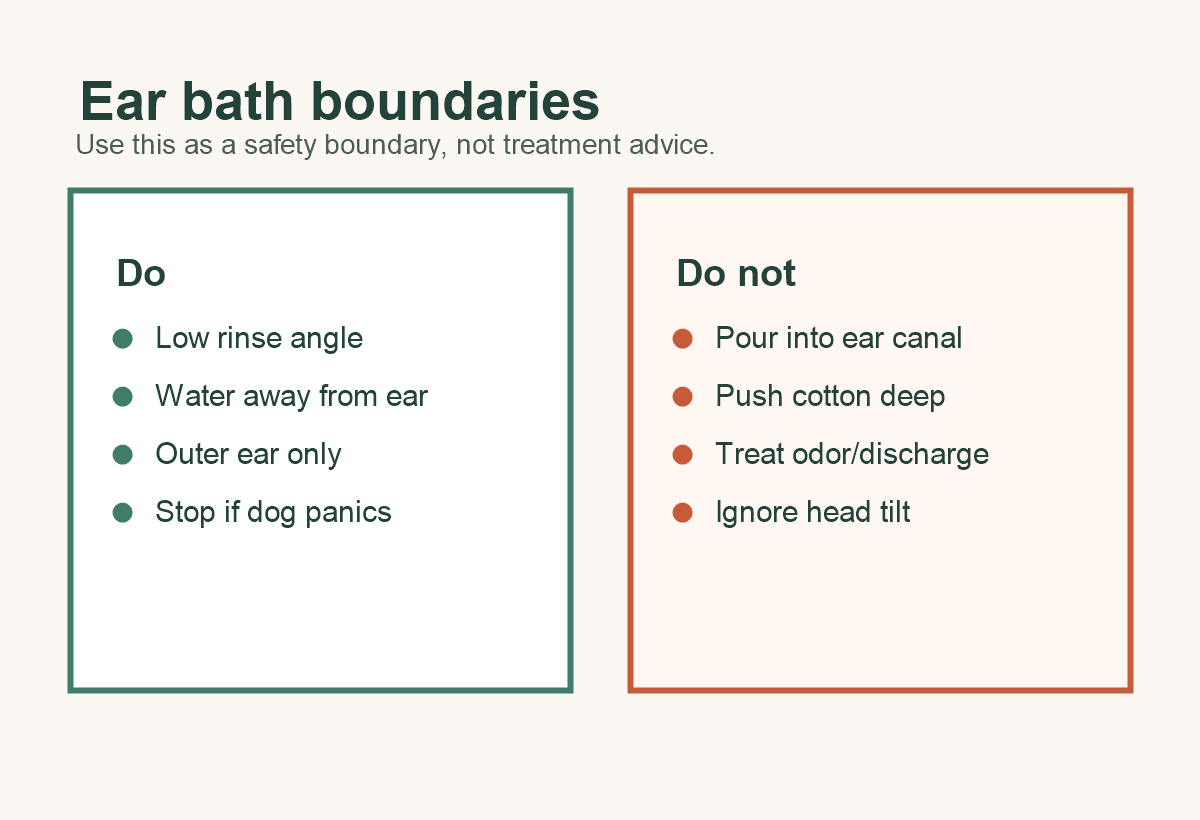
Protect dog ears during a bath by keeping water away from the ear opening, using a gentle rinse angle, and stopping if the ears already look painful or abnormal. This is bath-water prevention only. It is not ear-canal cleaning or ear-infection treatment.
Do not force a dog’s head into position. If the dog is panicking, snapping, scrambling, or showing ear pain, stop and get help from a veterinarian or qualified groomer.
Why Ear Protection During Baths Matters
ASPCA dog grooming guidance says to avoid spraying or pouring water directly into a dog’s ears, eyes, or nose during bathing. Around the head, careful direction matters more than speed.
The practical goal is simple: rinse nearby fur while keeping the ear opening out of the water path.
Use a Safer Rinse Angle Around the Head
Use gentle water flow. Aim the water down and away from the ear opening, not across it. Rinse the neck, cheeks, and nearby fur in small passes instead of blasting the whole head.
If the dog moves suddenly, pause. Re-aim before you turn the water back toward the head area.
What Not to Put in Your Dog’s Ears
Do not push cotton deeply into the ear. Do not use ear plugs, powders, cleaners, medications, or tools as bath shortcuts unless a veterinarian gave those directions for that dog.
Shallow ear covering may sound simple, but it can become unsafe if the dog resists or if material is pushed too far. When in doubt, skip the bath or use professional help.
Long Ears vs Upright Ears
For long ears, you may gently hold the ear flap down and away from the water path if the dog is calm. For upright ears, control the spray direction and avoid aiming water toward the opening.
Do not fold, twist, pin, or force the ear. Ear handling should stay calm and brief.
After-Bath Outer-Ear Drying
Dry the outer ear and the fur around it with a soft towel. Stay outside the canal. Do not push cloth, cotton, or tools into the ear.
If the ear smells bad, looks red, has discharge, or seems painful, do not treat it as a normal drying task.
Vet Stop Signs Before or After a Bath
VCA ear-cleaning guidance says red, inflamed, or painful ears should be checked by a veterinarian before cleaning. VCA ear-infection guidance lists concern signs such as head shaking, scratching, odor, redness, discharge, and pain.
Balance changes, head tilt, bleeding, swelling, or severe discomfort are not grooming issues. Stop and contact a veterinarian.
FAQ
How do I keep water out of my dog’s ears during a bath?
Use gentle water flow, aim away from the ear opening, and rinse the head area in small controlled passes.
Should I put cotton in my dog’s ears during a bath?
Do not insert cotton deeply. If any ear covering cannot be done calmly and safely, skip it and use professional help.
Can I rinse around my dog’s head?
Yes, but keep water away from the ears, eyes, and nose. Do not aim the spray toward the ear opening.
What if my dog shakes their head after a bath?
Head shaking can be a concern sign, especially with odor, discharge, redness, scratching, or pain. Contact a veterinarian if it continues or appears with other symptoms.
When should ear symptoms go to a vet?
Use a veterinarian for odor, discharge, head shaking, scratching, pain, redness, swelling, bleeding, balance changes, head tilt, or unsafe handling.
Bottom Line
Protecting dog ears during a bath is mostly about rinse direction, calm handling, and knowing when not to bathe. Keep water away from the ear opening, stay out of the canal, and treat abnormal ear signs as a veterinary issue.
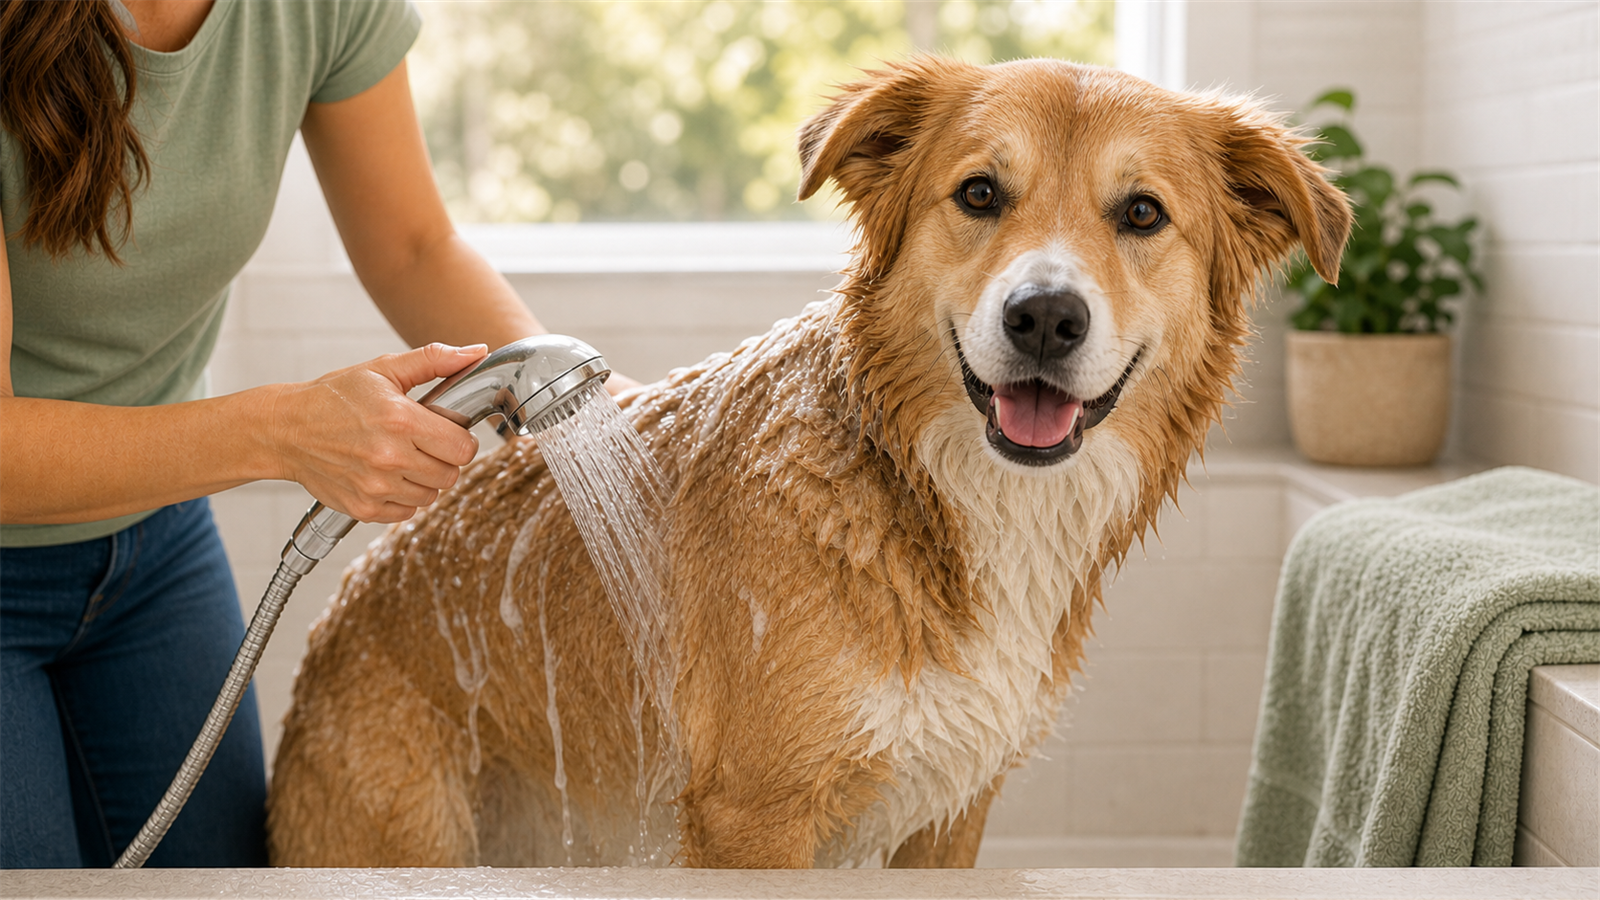
Rinse dog shampoo by working through the coat in zones, not just by spraying the top of the back until the water looks clearer. Shampoo can hide in armpits, belly fur, feet, tail areas, folds, feathering, and dense undercoat.
Keep water and soap out of the eyes, ears, nose, and mouth. Stop if the dog is panicking, the skin looks irritated, or handling no longer feels safe.
Why Complete Rinsing Matters
VCA medicated-shampoo guidance stresses rinsing all shampoo from the body and not leaving residue on the skin. The same residue concern matters during routine bathing, even when the shampoo is not medicated.
The MSD Veterinary Manual notes that shampoo residue can irritate skin. Rinsing is not a quick final splash; it is its own step.
The Rinse-Check Sequence
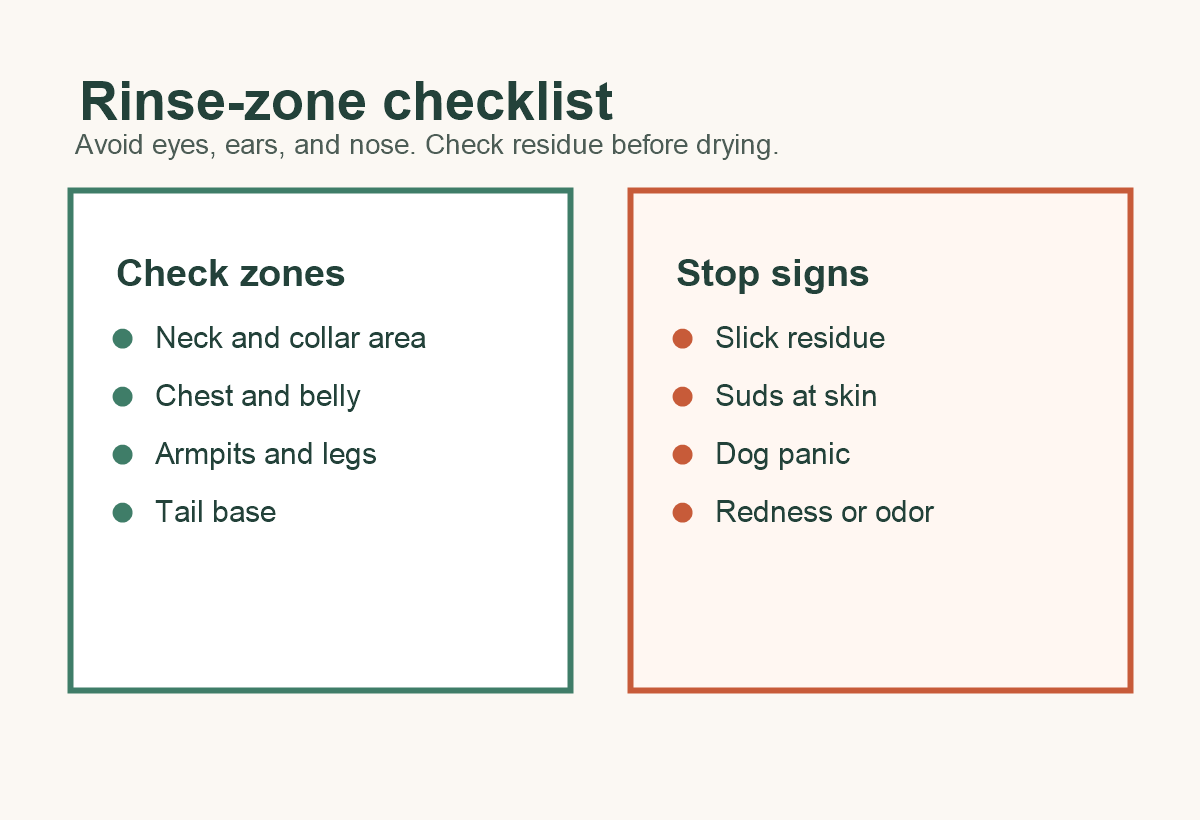
Start at the neck and shoulders, then move down the body. Work through the chest, belly, legs, and feet. Recheck armpits, tail base, feathering, folds, and any dense coat zones before drying.
Use your fingers to part the coat gently where the dog is comfortable. The goal is to let water reach the skin level without scrubbing painful skin or forcing the dog into a risky position.
Common Missed Zones
The easiest places to miss are the armpits, belly, chest, tail base, feet, legs, skin folds, long feathering, and dense undercoat. These areas can still feel slick after the topcoat looks clean.
If the dog has mats, painful skin, folds with odor, or areas that cannot be handled calmly, do not push through. Use a veterinarian or qualified groomer.
Rinse Checks by Coat Type
Smooth coats need a surface check plus belly and feet. Dense double coats need extra time near the skin and undercoat. Long or feathered coats need attention at the ends, armpits, tail, and leg feathering. Curly or wavy coats can hold residue inside tight coat texture. Folded-skin areas need gentle rinsing and careful drying when the skin is healthy.
These checks are clues, not a guarantee. Some skin conditions, coat types, and products need professional guidance.
Residue Feel Test and Water Clarity
Clearer water, fewer suds, less slickness, and normal coat texture are useful signs. They do not prove every bit of residue is gone in every dog.
If the coat still feels slippery, soapy, strongly scented, or heavy, keep rinsing. If the skin becomes red, painful, or irritated, stop and get guidance instead of continuing to scrub.
Rinse Water Temperature and Spray Direction
Use lukewarm, not hot, water. ASPCA grooming guidance supports keeping water out of the ears, eyes, and nose during bathing. Aim the spray away from the face and keep the flow gentle enough that the dog stays under control.
Stop Signs After Shampoo or Rinsing
Stop for open sores, burns, infection signs, persistent itching, redness, odor, distress, panic, aggression, a medically fragile dog, or unsafe handling. Do not treat a bath as a fix for a skin problem that needs veterinary care.
FAQ
How do I know dog shampoo is fully rinsed?
Use several clues: clearer water, fewer suds, less slickness, and normal coat feel. Treat those as checks, not proof.
What happens if shampoo stays on a dog’s skin?
Residue can irritate skin. Persistent redness, itching, odor, or distress should be checked by a veterinarian or qualified groomer.
Which areas are easiest to miss?
Armpits, belly, chest, tail base, feet, folds, feathering, and dense undercoat areas are commonly missed.
Should rinse water be warm or cold?
Use lukewarm water. Avoid hot water and icy water.
What should I do if my dog is itchy after a bath?
Do not assume it is only residue. If itching persists or comes with redness, odor, pain, or distress, contact a veterinarian.
Bottom Line
Rinse by zone, check the hidden areas, and keep going while the coat feels slick or sudsy. Stop quickly for skin changes, distress, or unsafe handling.
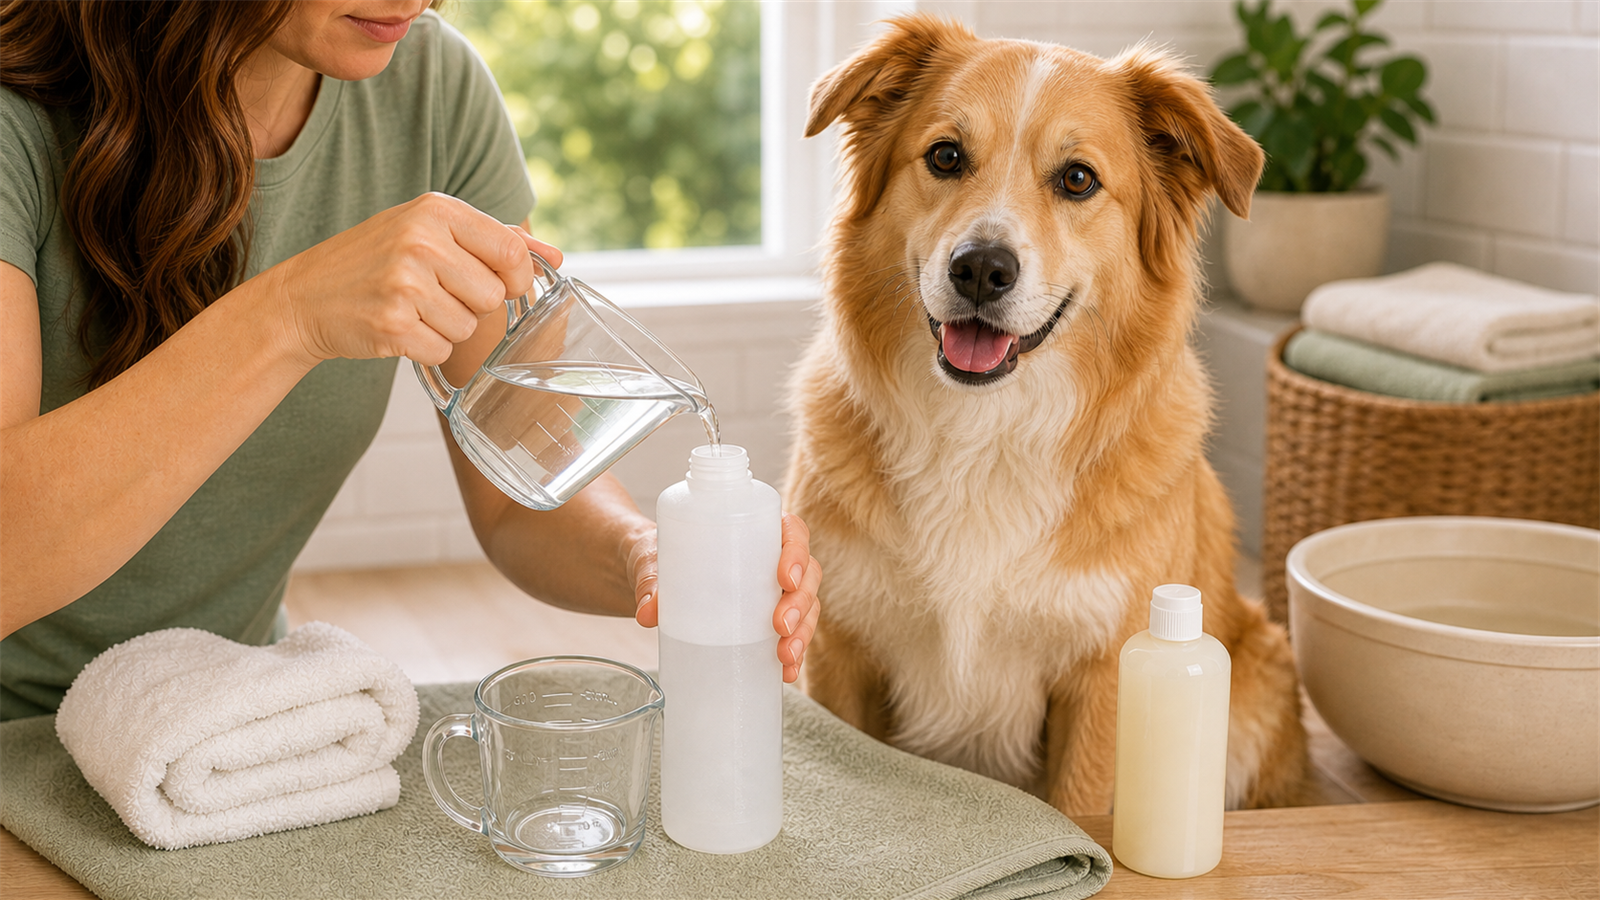
Dilute dog shampoo only when the label or your veterinarian says to dilute it. The ratio is not universal. A label that says to mix 10 parts water with 1 part shampoo is giving a different instruction from a label that says to use the shampoo full strength.
For routine bathing, the safest habit is label first, fresh mix second, full rinse third. Do not guess a ratio, and do not use this page as medicated-shampoo instructions.
What Dog Shampoo Dilution Means
Dilution means mixing shampoo with water before it goes on the coat. Some shampoos are designed for that; some are not. A Merck Veterinary Manual shampoo therapy table notes that some shampoos may be diluted in water, and the wider veterinary point is simple: follow the product instructions.
If the label does not tell you to dilute the shampoo, do not invent a mix. If the label is unclear, check the manufacturer’s directions before the bath.
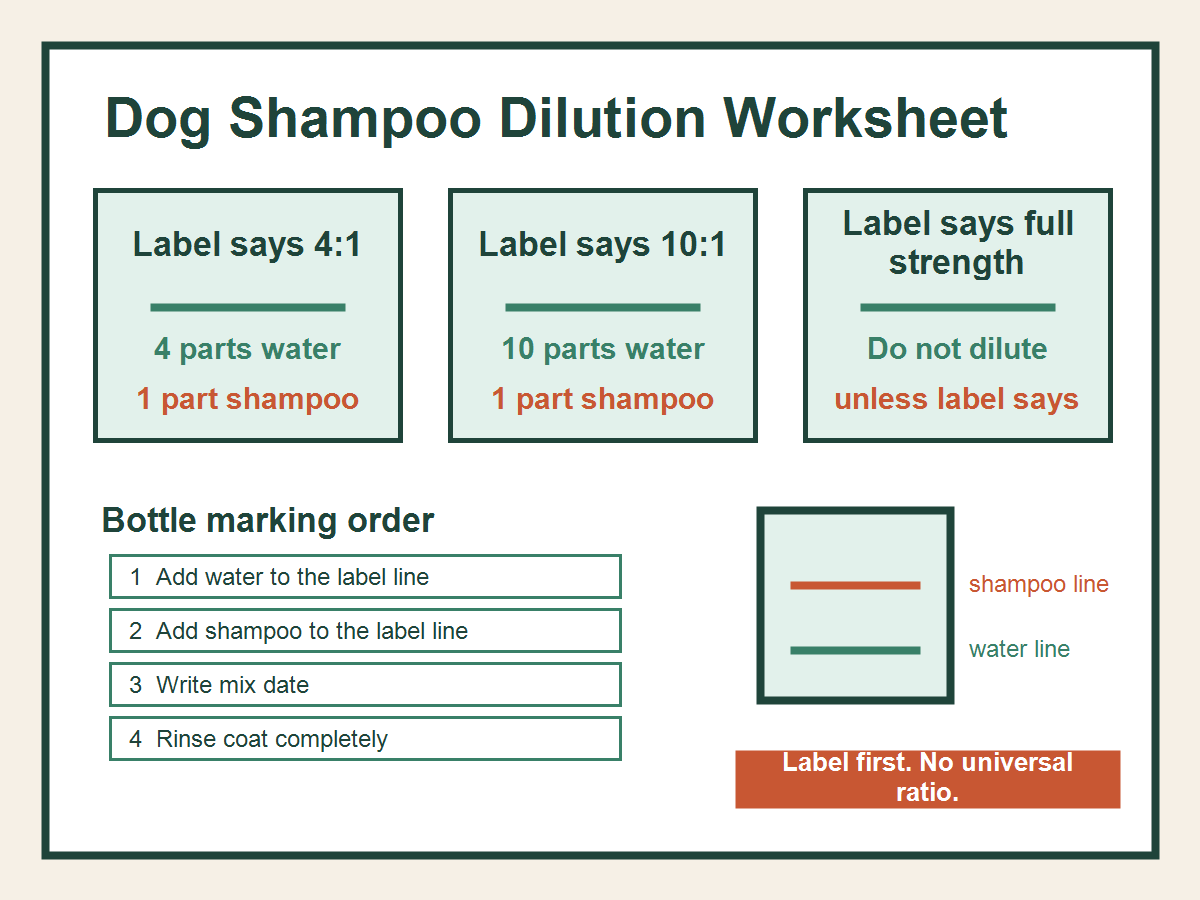
How to Read Ratios Like 4:1, 10:1, and 16:1
A ratio describes parts, not a single bottle size. In a generic example, 10 parts water to 1 part shampoo means ten equal parts of water and one equal part of shampoo. Those parts could be ounces, cup marks, or fill lines, as long as you use the same unit for both sides.
Read the wording carefully. Some labels spell out water first. Others may phrase the instruction differently. Use the exact order and wording on your own product.
A Simple Dilution Worksheet
Before mixing, write down five things: the label ratio, the bottle size or fill line, the water amount, the shampoo amount, and the mix date. Add one more reminder on the bottle: rinse completely.
Example only: if the label says 4 parts water to 1 part shampoo, the full mix has 5 total parts. A small batch could use 4 ounces of water and 1 ounce of shampoo. That example does not apply to a product with a different label.
The Bottle-Mark Method
Use a clean mixing bottle. Mark the water line first, then mark the shampoo line based on the actual label. Add water before shampoo if the label allows it, mix gently, and make only what you expect to use for that bath unless the label says storage is allowed.
Do not reuse a bottle that held harsh cleaners or anything unsafe for pets. Do not leave an unlabeled mix where someone might mistake it for plain water or another product.
Routine Shampoo vs Medicated Shampoo
Medicated or prescribed shampoos are different. VCA medicated-shampoo guidance emphasizes veterinarian-prescribed directions, contact time, and rinsing all shampoo away. This page does not give medicated-shampoo dosing or treatment instructions.
If a veterinarian prescribed the shampoo, follow the veterinarian and label directions instead of a general bath routine.
Common Dilution Mistakes
The common mistakes are guessing, copying a ratio from another bottle, assuming every shampoo should be diluted, storing a mix without label support, and using too much shampoo because more feels cleaner.
More shampoo can be harder to rinse. The MSD Veterinary Manual notes that shampoo residue can irritate skin, which is why dilution and rinsing belong together.
Skin and Rinse Stop Signs
Stop the bath and get veterinary guidance for open sores, skin disease, sudden irritation, allergic reaction signs, swelling, distress, or a medically fragile dog. Do not use shampoo dilution as a way to manage a skin problem at home.
FAQ
What does 10:1 dog shampoo dilution mean?
In a generic example, it means 10 parts water to 1 part shampoo. Always check your own product label because wording and order matter.
Should all dog shampoo be diluted?
No. Dilute only when the label or veterinarian directions say to dilute.
Can I dilute medicated dog shampoo?
Only under the product label and veterinarian directions. This page does not give medicated-shampoo instructions.
How long does diluted dog shampoo last?
Follow the label. If the label does not say a diluted mix can be stored, mix fresh for the bath.
What happens if I use too much shampoo?
Too much shampoo can be harder to rinse and may leave residue. Persistent itching, redness, or distress needs veterinary guidance.
Bottom Line
A good dilution routine is not complicated: read the label, measure by parts, mix only what the directions allow, and rinse until the coat no longer feels slick or sudsy. If the shampoo is medicated or the skin looks abnormal, use veterinary directions instead.
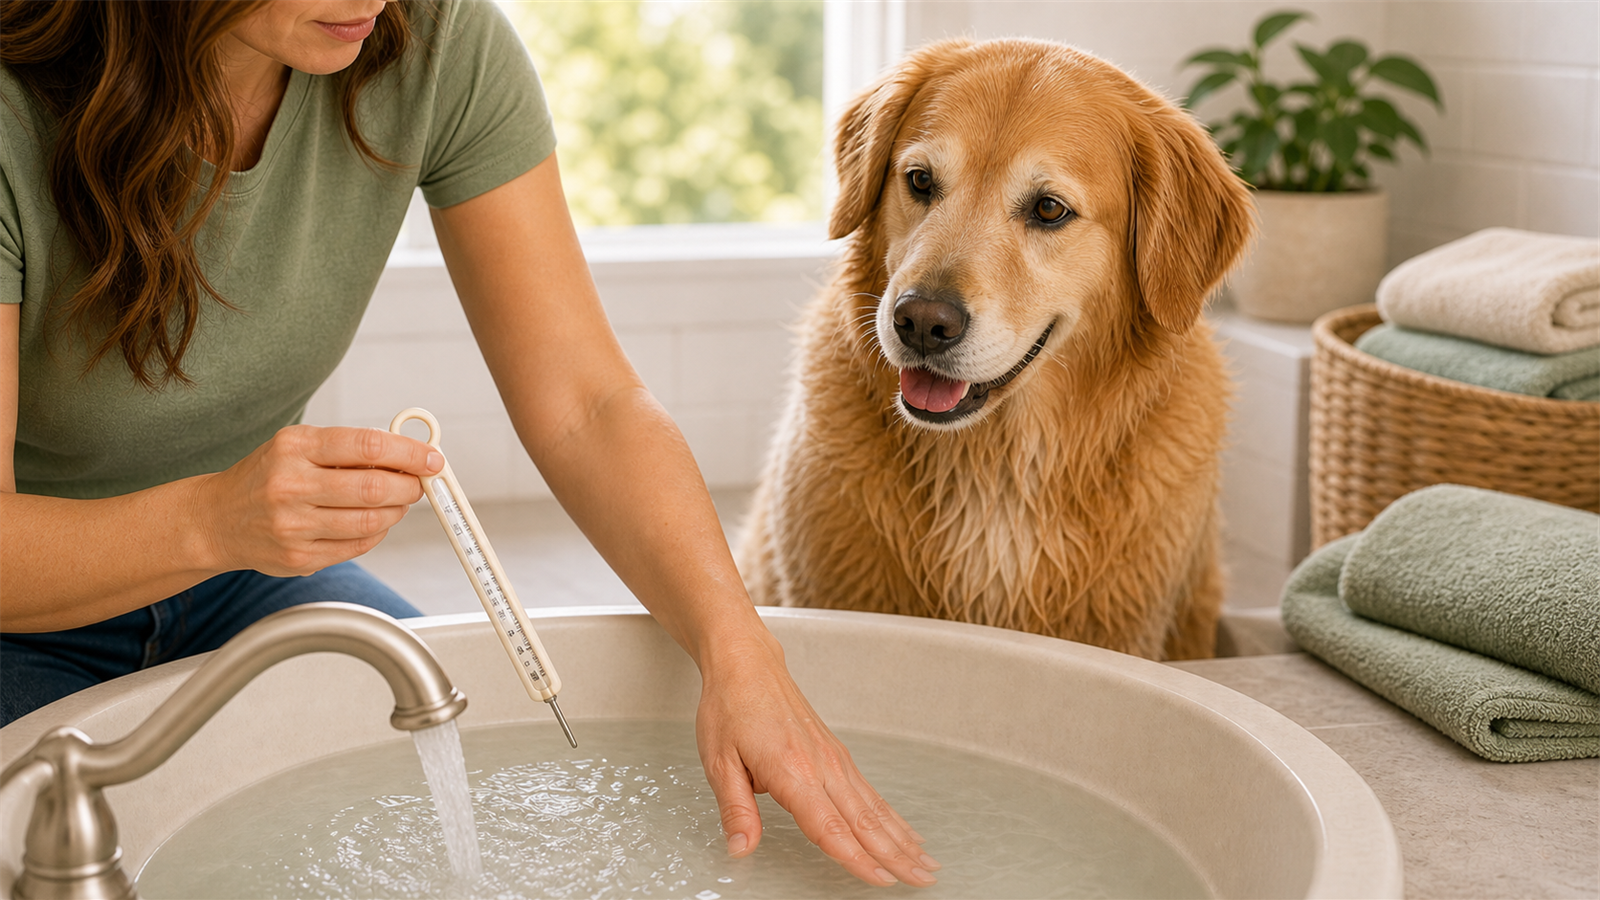
Use lukewarm, not hot, water for a routine dog bath. The goal is simple: water that feels comfortable and mild, with no hot bite, no icy shock, and no guesswork once the bath is already moving.
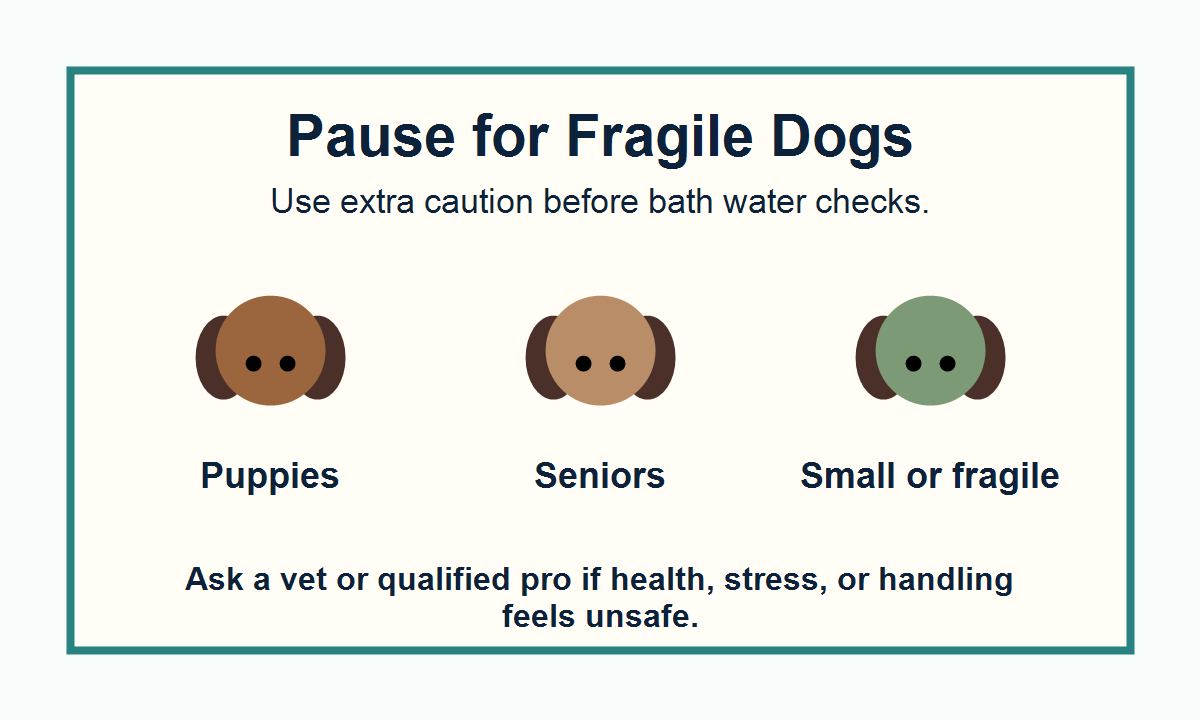
Do not bathe a dog at home if there are burns, open sores, signs of skin infection, heat or cold stress, panic, aggression, or handling that no longer feels safe. Puppies, senior dogs, small dogs, and medically fragile dogs need extra caution, and a veterinarian or qualified professional should guide bathing when health status is part of the concern.
This guide does not give a universal number for every dog and every bathroom setup. Water temperature can shift during the bath, and a dog’s age, size, skin condition, stress level, and health status all matter.
Why a Hand Check Can Mislead You
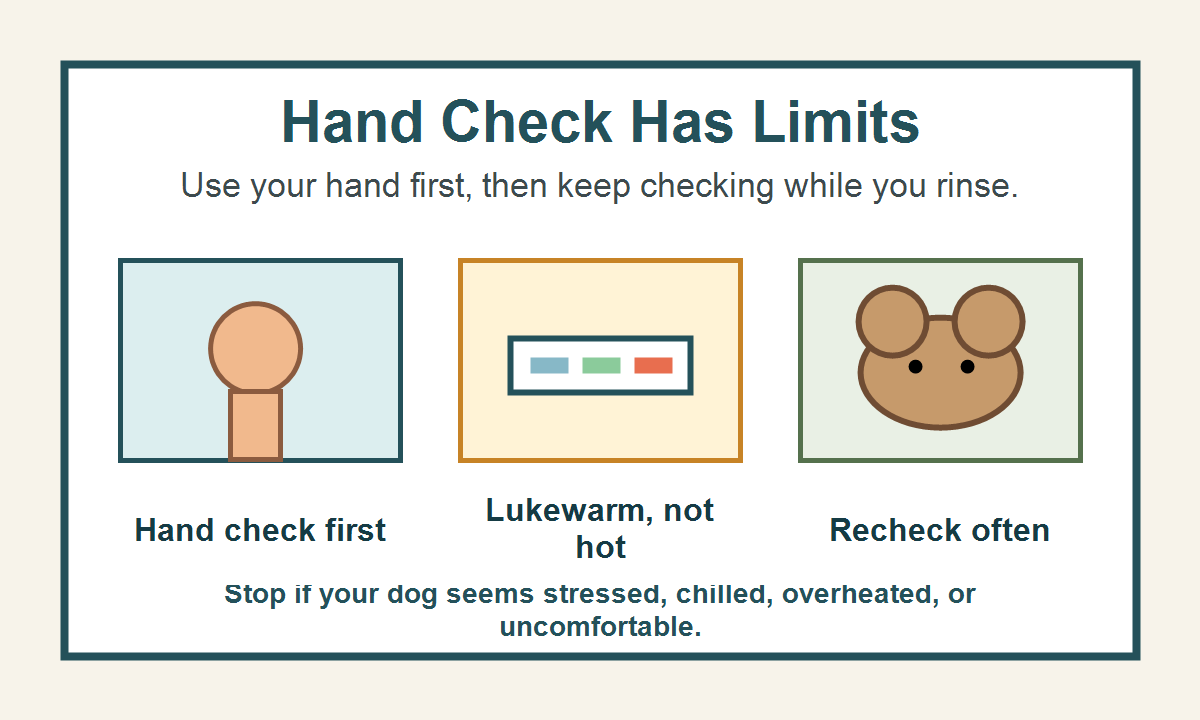
A hand or wrist check is useful for catching water that is obviously hot or cold, but it is not a perfect safety test. Owner comfort is not the same as dog comfort. A spray hose can warm up or cool down after it runs. A tub can feel different from the water coming out of the nozzle.
A hand check helps, but it should not be treated as proof that the whole bath will stay comfortable.
Check the water before the dog gets wet. Check again before rinsing the chest, belly, legs, and tail area. If the water suddenly feels sharp, hot, chilly, or uncomfortable, stop and adjust before continuing.
Use Extra Caution With Puppies, Seniors, Small Dogs, and Fragile Dogs
Puppies, senior dogs, small dogs, thin-coated dogs, and medically fragile dogs may have less tolerance for temperature stress or a long bath. Keep the session short, keep the room calm, and stop before the dog becomes exhausted or highly stressed.
When health, age, size, or stress changes the risk, pause the bath and get professional guidance.
Set Up the Bath Before Water Touches the Dog
Before you start, make the footing secure, place towels within reach, and test the water flow away from the dog. Keep the water shallow for a home bath. Avoid spraying or pouring water directly into the ears, eyes, or nose.
If the dog is already worried, rushing the water step can make the bath harder. Start slowly, keep one hand steady on the dog if safe, and stop if the dog begins to panic, growl, snap, scramble hard, or repeatedly try to escape.
Stop Signs During a Dog Bath
Stop the bath if you see skin redness, pain, suspected burns, shivering, heavy panting, weakness, panic, aggression, open sores, discharge, strong odor from irritated skin, or any handling risk. This page is not a treatment guide for skin, ear, eye, heat, cold, injury, or behavior problems.
If the bath was started because of itching, odor, sores, parasites, sudden hair loss, or recurring skin trouble, pause and ask a veterinarian what should happen next. A bath can clean surface dirt, but it should not be used to cover up a medical problem.
Where This Fits in Home Dog Grooming
Water temperature is only one part of a safer bath. Brush first when the coat allows it, use a calm setup, rinse thoroughly, and dry the dog in a way that does not overheat or frighten them.
FAQ
What temperature should dog bath water be?
Use lukewarm, not hot, water. This article does not give a universal numeric target because dogs, bathrooms, water flow, and health status vary.
Is warm water or cold water better for dogs?
Lukewarm water is the safer routine direction. Avoid hot water and icy water.
Can hot bath water hurt a dog?
Yes. Hot water can irritate or burn skin. Stop for redness, pain, distress, panic, or any burn concern.
Should puppies or senior dogs use cooler bath water?
Use extra caution with puppies, seniors, small dogs, and medically fragile dogs. Ask a veterinarian when health status affects bathing.
How do I tell if bath water is too hot for my dog?
Check that the water feels lukewarm, not hot, before and during bathing. Stop if the dog seems distressed, chilled, overheated, painful, or uncomfortable.
Bottom Line
For a routine dog bath, choose lukewarm water, check it more than once, and stop quickly when the dog or the skin tells you something is wrong. A calm, short bath with mild water is better than pushing through a setup that feels uncertain.
To groom a dog at home safely, start with a calm setup and a quick body check, brush and comb before bathing, decide whether a bath is needed, rinse and dry thoroughly, check paws and nails carefully, keep face and ear work surface-level, and stop as soon as the dog, coat, skin, or tool setup becomes unsafe.
You do not have to finish every grooming task in one session. For many dogs, the safest home groom is short, calm, and intentionally unfinished.
At-Home Dog Grooming Order
Use this order as a safety flow, not a race. Skip any step that would make the session too long, stressful, or risky.
Step
What to do
Stop or skip if
1
Set up a quiet, well-lit room with non-slip footing
The dog is already panicked or the floor is slippery
2
Check coat, skin, paws, eyes, and ears before tools touch the dog
You see pain, swelling, bleeding, discharge, severe mats, or unsafe handling
3
Brush and comb gently before any bath
Mats are tight, painful, close to skin, or in a sensitive area
4
Bathe only if needed, using a dog-appropriate shampoo category
A bath would make the session too long or the dog is not safe to bathe today
5
Rinse well and dry fully on a non-slip surface
The dog overheats, panics, struggles to breathe, or cannot be handled calmly
6
Check paws and nails within your skill level
There is limping, bleeding, swelling, paw guarding, or nail-trim uncertainty
7
Wipe face and ear areas only where appropriate
There is eye squinting, discharge, ear pain, odor with irritation, or facial pain
Original Safe-Order Framework
Pet Grooming Guide original framework: build the session around stopping early, not getting everything done.
Set the room: quiet space, bright light, towels, non-slip footing, and tools placed before the dog arrives.
Check first: look for mats, soreness, skin changes, paw problems, ear/eye concerns, and stress level.
Brush before water: gently loosen loose coat and find tangles before bathing.
Choose the smallest useful session: brush-only, bath-only, paw check, or full routine only when calm and safe.
Route up quickly: use a groomer for severe coat problems or handling limits, and use a veterinarian for pain, injury, discharge, limping, or medical concern.
Set Up the Room First
Choose a quiet area with good light, a stable surface, towels, and clean water if bathing. Keep electric tools away from water and damp surfaces. Read product labels and tool manuals before the dog is on the grooming surface.
Skip the session if the room is too hot, the surface is slippery, the dog is already panicked, or you cannot keep the setup controlled without force.
Do a Quick Body and Coat Check
Before brushing or bathing, look over the coat and skin. This is a safety check, not a diagnosis.
Stop and call a veterinarian or professional groomer if you see severe mats, painful mats, wounds, sores, bleeding, redness, swelling, discharge, odor with irritation, eye squinting, ear pain, limping, obvious pain, parasites, sudden skin or coat changes, panic, aggression risk, or unsafe handling.
Brush and Comb Before Bathing
Brush and comb gently before a bath to remove loose coat and find tangles. Bathing over tangles can make coat problems harder to manage, especially on thick, curly, or double-coated dogs.
Do not force a brush through mats. Do not cut mats out at home if they are tight, painful, close to the skin, or in a sensitive area. That belongs with a qualified groomer or veterinarian, depending on the dog and skin condition.
Decide Whether to Bathe Today
A bath is not always required. If the dog is clean enough and the main need is brushing, stop after brushing and comfort checks. If a bath is needed, use a dog-appropriate shampoo category and follow the label.
Avoid human shampoos, medicated products chosen without veterinary direction, pesticide shortcuts, or chemical mixtures. Rinse well and keep water and shampoo away from the eyes and ear canal. For bath-specific mistakes, use the dog bathing mistakes guide before repeating the routine.
Dry Fully and Watch Comfort
Drying matters because trapped moisture can irritate skin and make thick coats uncomfortable. Use towels first and keep the dog warm, calm, and secure on a non-slip surface.
If using any electric drying tool, follow the manufacturer instructions, avoid heat stress, and stop for panic, overheating, breathing trouble, collapse, or unsafe handling. This guide does not teach advanced salon drying.
Check Paws and Nails Carefully
After brushing or bathing, check the paws for trapped moisture, debris, nail-edge issues, and signs of discomfort. Nail work should stay within what you can safely do. If you need a dedicated setup check, use the dog nail trimming setup checklist.
Stop and call a veterinarian for limping, pain, swelling, bleeding, cuts, burns, blisters, discharge, excessive licking, chemical exposure concern, or sudden sensitivity. Stop and call a groomer for paw-hair trimming uncertainty or mats between toes.
Keep Ears and Face Surface-Level
For the face and ear area, keep home grooming gentle and surface-level. Wipe only where appropriate and do not insert tools or cotton swabs into the ear canal.
Ear pain, discharge, odor with irritation, head shaking, eye discharge, eye squinting, or facial pain should stop the grooming session and move the decision to a veterinarian.
Skip This Today Decision Box
If this is true
Safer choice
The dog is nervous but not unsafe
Do one short task and end positively
The coat has small tangles you can brush gently
Work slowly, then stop before frustration
The dog has painful mats or skin changes
Stop and call a groomer or veterinarian
Nails are stressful today
Skip nails and use a nail-specific setup guide later
Bathing would make the session too long
Brush today, bathe another day
Tools look damaged or wet
Do not use them; follow the manufacturer route
Cleanup After the Session
When the session ends, clean and dry the grooming area, remove hair from tools, store tools away from moisture, and note any issue you should revisit later. If the dog seems sore, itchy, unusually tired, or uncomfortable after grooming, stop home grooming and consider veterinary advice.
FAQ
What order should I groom my dog at home?
Start with setup and a body check, then brush and comb, decide on bathing, rinse and dry, check paws and nails, do gentle face or ear-area wiping if appropriate, and clean up. Stop anytime safety changes.
Do I have to bathe my dog every time I groom?
No. Many home sessions can be brushing, paw checks, or comfort work only. A shorter session is often safer than trying to do everything at once.
Can I remove severe mats at home?
No. Severe, painful, tight, or skin-close mats should be handled by a professional groomer or veterinarian. Do not cut them out at home.
When should I stop grooming immediately?
Stop for wounds, bleeding, swelling, discharge, pain, panic, breathing trouble, collapse, chemical exposure concern, severe mats, damaged tools, wet electric tools, or unsafe handling.
Bottom Line
Safe home grooming is a sequence of small decisions. Set up the room first, check the dog before tools touch the coat, brush before bathing, skip tasks that are too much for today, and route pain, injury, severe mats, discharge, panic, or unsafe handling to a veterinarian or qualified groomer.