
Your Old English Sheepdog looks at you with those big, dark eyes from behind a curtain of shaggy hair. You love the look. You're just not sure you can keep up with it.
That's exactly why you're here, and honestly, it's the smartest first step you could take. Learning how to groom an Old English Sheepdog properly isn't just about keeping them cute. It's about preventing serious pain, skin infections, and costly vet visits down the road.
Here's the reality: this breed's double coat is a full-time job. As of 2026, professional grooming salons typically charge between $80 and $150 per session for an OES, and they'll still tell you to brush at home several times a week. The good news?
You absolutely can handle most of it yourself. You just need the right tools and a solid plan. Let's break down exactly what that looks like, step by step.
Quick Answer
Brush your Old English Sheepdog thoroughly 2 to 3 times per week. Use a slicker brush and a metal comb to reach the undercoat. Bathe every 4 to 6 weeks with dog-safe shampoo.
Dry completely with a high-velocity dryer. Clip the coat every 4 to 6 weeks. Check ears and nails monthly.
Never shave the coat down to the skin.
Why Grooming an OES Is Different (and Why It Matters)
Grooming a Golden Retriever or a Lab is a breeze compared to this. Those breeds have shorter, easier coats that shed naturally. The Old English Sheepdog is a whole different animal, literally.
Their signature shaggy look comes from a dense double coat that doesn't shed much at all. Instead, the dead hair gets trapped underneath the live hair. That trapped hair doesn't just sit there.
It tangles, it mats, and it eventually pulls on the skin like a tight rubber band.
Here's how it works. An OES has two distinct layers. The outer coat is long, coarse, and sometimes a little wavy.
Its job is to repel water and dirt, basically a built-in raincoat. The undercoat is softer, denser, and fluffier, like a layer of insulation. When your dog sheds, that undercoat loosens.
If you don't brush it out, it wraps around the live hairs and forms tight, painful mats right against the skin.
The Difference Between "Brushed" and "Properly Groomed"
A quick once-over with a brush doesn't cut it. Most owners think they're doing enough because the top layer looks smooth. The danger hides underneath.
Mats start at the skin line. A coat can look completely fine on the outside while being a solid, felted mess an inch deep. That's why line brushing, which we'll cover soon, is so critical.
It forces you to work through the coat section by section, right down to the skin.
What Happens When You Skip It
Neglected coats lead to real problems. Tight mats trap moisture against the skin, creating the perfect environment for bacteria and fungi. You end up with hot spots, yeast infections, and skin that's red, raw, and incredibly sore.
And here's the kicker: once the coat is that matted, the only humane fix is to shave it all off. That means your shaggy buddy suddenly looks like a giant white poodle for several months.
Shaving also comes with risks. This breed's coat may not grow back the same way after a full shave-down. It can come back coarse, patchy, or with a condition called clipper alopecia where hair doesn't regrow properly.
That's why every grooming decision matters. It's not just about looks. It's about your dog's comfort and long-term coat health.
The Quick Answer: What You Actually Need Before You Start
Let's get practical. Before you even think about bathing or clipping, you need the right tools. Walking into this with just any old brush is a recipe for frustration.
Our research, along with manufacturer specifications and aggregate owner reviews, points to the same core set of essentials. You don't need everything on a pro groomer's table. But you do need these.
The Non-Negotiable Tool Kit
Here's a breakdown of what you should have on hand. Think of this as your foundation.
| Tool | Why You Need It | Notes |
|---|---|---|
| Slicker Brush | Removes loose undercoat and tangles from the top layer. | Look for one with fine, bent wires. Medium to large size works best. |
| Undercoat Rake | Pulls out the dense, dead undercoat that causes mats. | Get one with rotating teeth to avoid snagging. |
| Wide-Toothed Metal Comb | Final check for tangles, especially around ears, legs, and tail. | A greyhound comb is the gold standard. |
| Detangling Spray | Adds slip to the coat, making brushing easier and less painful. | Use a dog-safe product. Never use human conditioners. |
| High-Velocity Dryer | Dries the coat completely and blows out loose fur. | Non-negotiable. Air-drying causes mats. |
| Clippers & Blades | For trimming the body, sanitary areas, and paws. | A quality clipper with a #10 blade is a must for sanitary trims. |
| Grooming Scissors | For neat work around the face, feet, and tail. | Curved shears are versatile for shaping. |
| Dog Shampoo & Conditioner | Cleans the coat and keeps it from drying out. | Use a moisturizing formula for double-coated breeds. |
| Nail Grinder or Clippers | Keeps nails short and prevents painful overgrowth. | A grinder is easier to control than clippers. |
| Ear Cleaning Solution | Prevents infections in those furry ears. | Ask your vet for a recommendation. |
The One Rule You Can't Break
Never brush a dry, matted coat. It's painful for the dog, and it ruins your brushes. If you hit a tangle, spray it with detangling solution and work it out gently with your fingers before bringing in a brush.
If a mat is too tight to work out, don't cut it with scissors. You're too close to the skin. Use a dematting tool or carefully shave it out with a #10 blade.
Setting Your Schedule
Consistency is your best friend. Don't wait for a mat to appear before you groom. Stick to a routine, and you'll avoid most worst-case scenarios.
- Brushing: 2-3 times per week for a pet cut. Daily for a full coat.
- Bathing: Every 4-6 weeks, or when dirty. Don't overdo it.
- Full Groom (Clipping): Every 4-6 weeks.
- Nail Trims: Every 2-4 weeks.
- Ear Checks: At least once a month.
Understanding the OES Coat: The "Why" Behind Every Grooming Step
You can follow instructions all day. But to truly master grooming an Old English Sheepdog, you need to understand what you're working with. This isn't just a single layer of hair.
It's a complex system evolved to keep your dog comfortable in harsh weather. Once you understand the mechanics, every step makes more sense.
The Outer Coat: Your Dog's Raincoat
The outer coat is made of longer, coarser guard hairs. They're designed to be harsh to the touch, not soft and silky. This texture helps repel water and dirt.
You'll notice the outer coat has a slight wave or curl. That natural texture sheds dirt and debris. When you brush, you're working with these hairs to keep them tangle-free and aligned.
The Undercoat: The Insulation Layer
Beneath the outer coat lies the undercoat. It's a dense layer of fine, fluffy hair that's incredibly soft. It's the ultimate insulation.
It keeps your dog warm in winter and regulates temperature in summer by trapping cool air close to the skin. The problem? This undercoat sheds constantly.
Dead hairs get trapped in the live fur, and that's where mats are born.
Why Shaving a Double Coat Is a Disaster
Never, ever shave an Old English Sheepdog down to the skin as a shortcut. We touched on this earlier, but let's be clear about the consequences. When you shave a double-coated breed, you destroy the hair's growth cycle.
The outer guard hairs grow back slower than the undercoat. This often results in a coat that grows back patchy, coarse, and discolored.
Worse, some dogs develop post-clipping alopecia, where the hair never fully grows back. That leaves permanent bald patches. The coat's protective function is gone, leaving your dog vulnerable to sunburn, insect bites, and temperature extremes.
It's a permanent solution to a temporary problem.
How Climate and Environment Affect the Coat
The OES coat behaves differently depending on where you live. In wet, rainy climates like the Pacific Northwest or the UK, the coat stays constantly damp. That moisture accelerates matting.
You'll need to brush more frequently and pay extra attention to drying after any outdoor time.
In dry, dusty climates like Arizona or Colorado, the coat picks up static and tangles easily. You'll rely more on detangling sprays to keep things manageable. And in humid climates like the Southeast, you're fighting a constant battle against moisture-related skin issues.
Understanding your environment helps you adapt your routine to your dog's needs.
Core Grooming Tools: What to Buy, What to Skip
The pet supply aisle is overwhelming. Bags of mystery tools, colorful gadgets, and products promising miracles. When you're learning how to groom an Old English Sheepdog, it's tempting to buy everything.
Don't. Most of it is marketing fluff. Let's separate the essential tools from the total waste of money.
Brushes and Combs: The Workhorses
This is where you should spend your money. A good brush makes the job faster and more comfortable for your dog. A cheap brush will snag, break, and make your dog hate grooming.
- Slicker Brush: Your go-to for everyday brushing. It has fine, angled wire pins that work through tangles and pull out loose fur. Look for one with a non-slip grip and rounded pins. A medium to large size is perfect for an OES.
- Undercoat Rake: A game-changer for the dense undercoat. It has long, widely spaced teeth that reach down to the skin and pull out dead hair. A rake with rotating teeth is gentler and reduces snagging.
- Greyhound Comb: A professional-grade comb with fine teeth on one end and wider teeth on the other. The wide end works out tangles. The fine end is for a final check on tricky spots like the ears, armpits, and tail.
- Pin Brush: Some owners prefer this for the outer coat. It has widely spaced pins with rounded tips and is gentle on the hair. Good for finishing work.
A Close Look at Clipper Blades
Choosing the right blade is crucial. It's the difference between a neat trim and raw, irritated skin. Blades come in numbered sizes that indicate the length of the cut.
The lower the number, the longer the cut.
| Blade Size | Cut Length | Best For |
|---|---|---|
| #10 | 1/16 inch | Sanitary trims, paw pads, and around the face. Very close, almost skin level. |
| #7F | 1/8 inch | A short "puppy cut" all over the body. Good for summer. |
| #5F | 1/4 inch | A medium-length trim. Good for a functional, easy-care pet cut. |
| #4F | 3/8 inch | A longer trim that keeps more of the shaggy look while staying manageable. |
Remember, a #10 blade is for tight, precise work. A #7F or #5F is for the body. Never use a #10 on the body unless you're completely shaving for a medical reason.
It's too close and leaves the skin exposed.

Image source: Bing (Web (fair-use with source credit))
Scissors, Dryers, and Other Essentials
- Grooming Scissors: You'll need a pair of curved shears for shaping the feet and rounding off the rear, plus a pair of straight shears for trimming hair between the paw pads. Don't buy the cheapest pair you can find. A decent mid-range pair is worth the investment.
- High-Velocity Dryer: This can be a significant investment, but it's necessary. A human hair dryer is too slow and gets too hot. A high-velocity dryer blasts water off and fluffs the coat so it doesn't dry in kinks and mats.
- Grooming Table: You don't strictly need this at home, but it's a game-changer. It saves your back, keeps your dog contained, and gives you a non-slip surface to work on. A simple folding table with a grooming arm is ideal.
- Ear Cleaning Solution: OES ears are covered in hair, which traps dirt and wax. A proper cleaning solution dissolves that grime so you can wipe it away safely.
What to Skip Entirely
- Furminators and De-Shedding Tools: These are designed for high-shedding breeds. The OES doesn't shed in clumps; they shed continuously. The sharp blades in these tools can damage the OES's topcoat, making it weak and prone to breakage.
- Electric Dematting Combs: These rarely work on tight mats and often cause more pain and frustration. A manual dematting tool (used carefully) or a clipper is a far better option.
- Conditioning Sprays with Silicone: These coat the hair, making it slippery and hard to work with. They build up over time, leaving the coat feeling greasy and attracting dirt. Stick to water-based detanglers.
Step-by-Step: How to Groom an Old English Sheepdog Safely
This is the heart of the matter. Every expert guide and professional groomer's manual boils down to this proven sequence. Follow these steps in order, and you'll get consistent, safe results.
Skip steps, and you'll face the consequences later.
Step 1: The Initial Assessment
Before you touch a single tool, take a minute to evaluate the coat's condition. Run your hands through your dog's fur from head to tail. Feel for bumps, tangles, or mats.
Check the sensitive areas: behind the ears, under the collar, in the armpits, and around the rear. These are the most common trouble spots. If you find tight mats close to the skin, don't try to brush them out.
You'll need to carefully clip them out with a #10 blade, which we'll cover in a later step.
Step 2: Line Brushing (The Most Important Technique)
This is non-negotiable. Line brushing is the only way to truly reach the undercoat and prevent mats from forming. It's tedious, but it works.
Here's how to do it:
- Lay your dog on their side on a non-slip surface.
- Part the hair down the middle of the spine with your fingers or a comb.
- Take a small section of hair from the top of the part, about an inch wide.
- Hold that section of hair firmly at the ends.
- Using your slicker brush, start at the ends and brush downwards, working toward the skin.
- Once that section is smooth, move to the next section down, repeating the process.
- Work your way down the entire side of the dog, then flip them over to do the other side.
It's like brushing a shag carpet, section by section. It takes time, especially the first few times. But it's the only way to prevent painful mats.
You'll know you're done when the comb glides through every section without snagging.
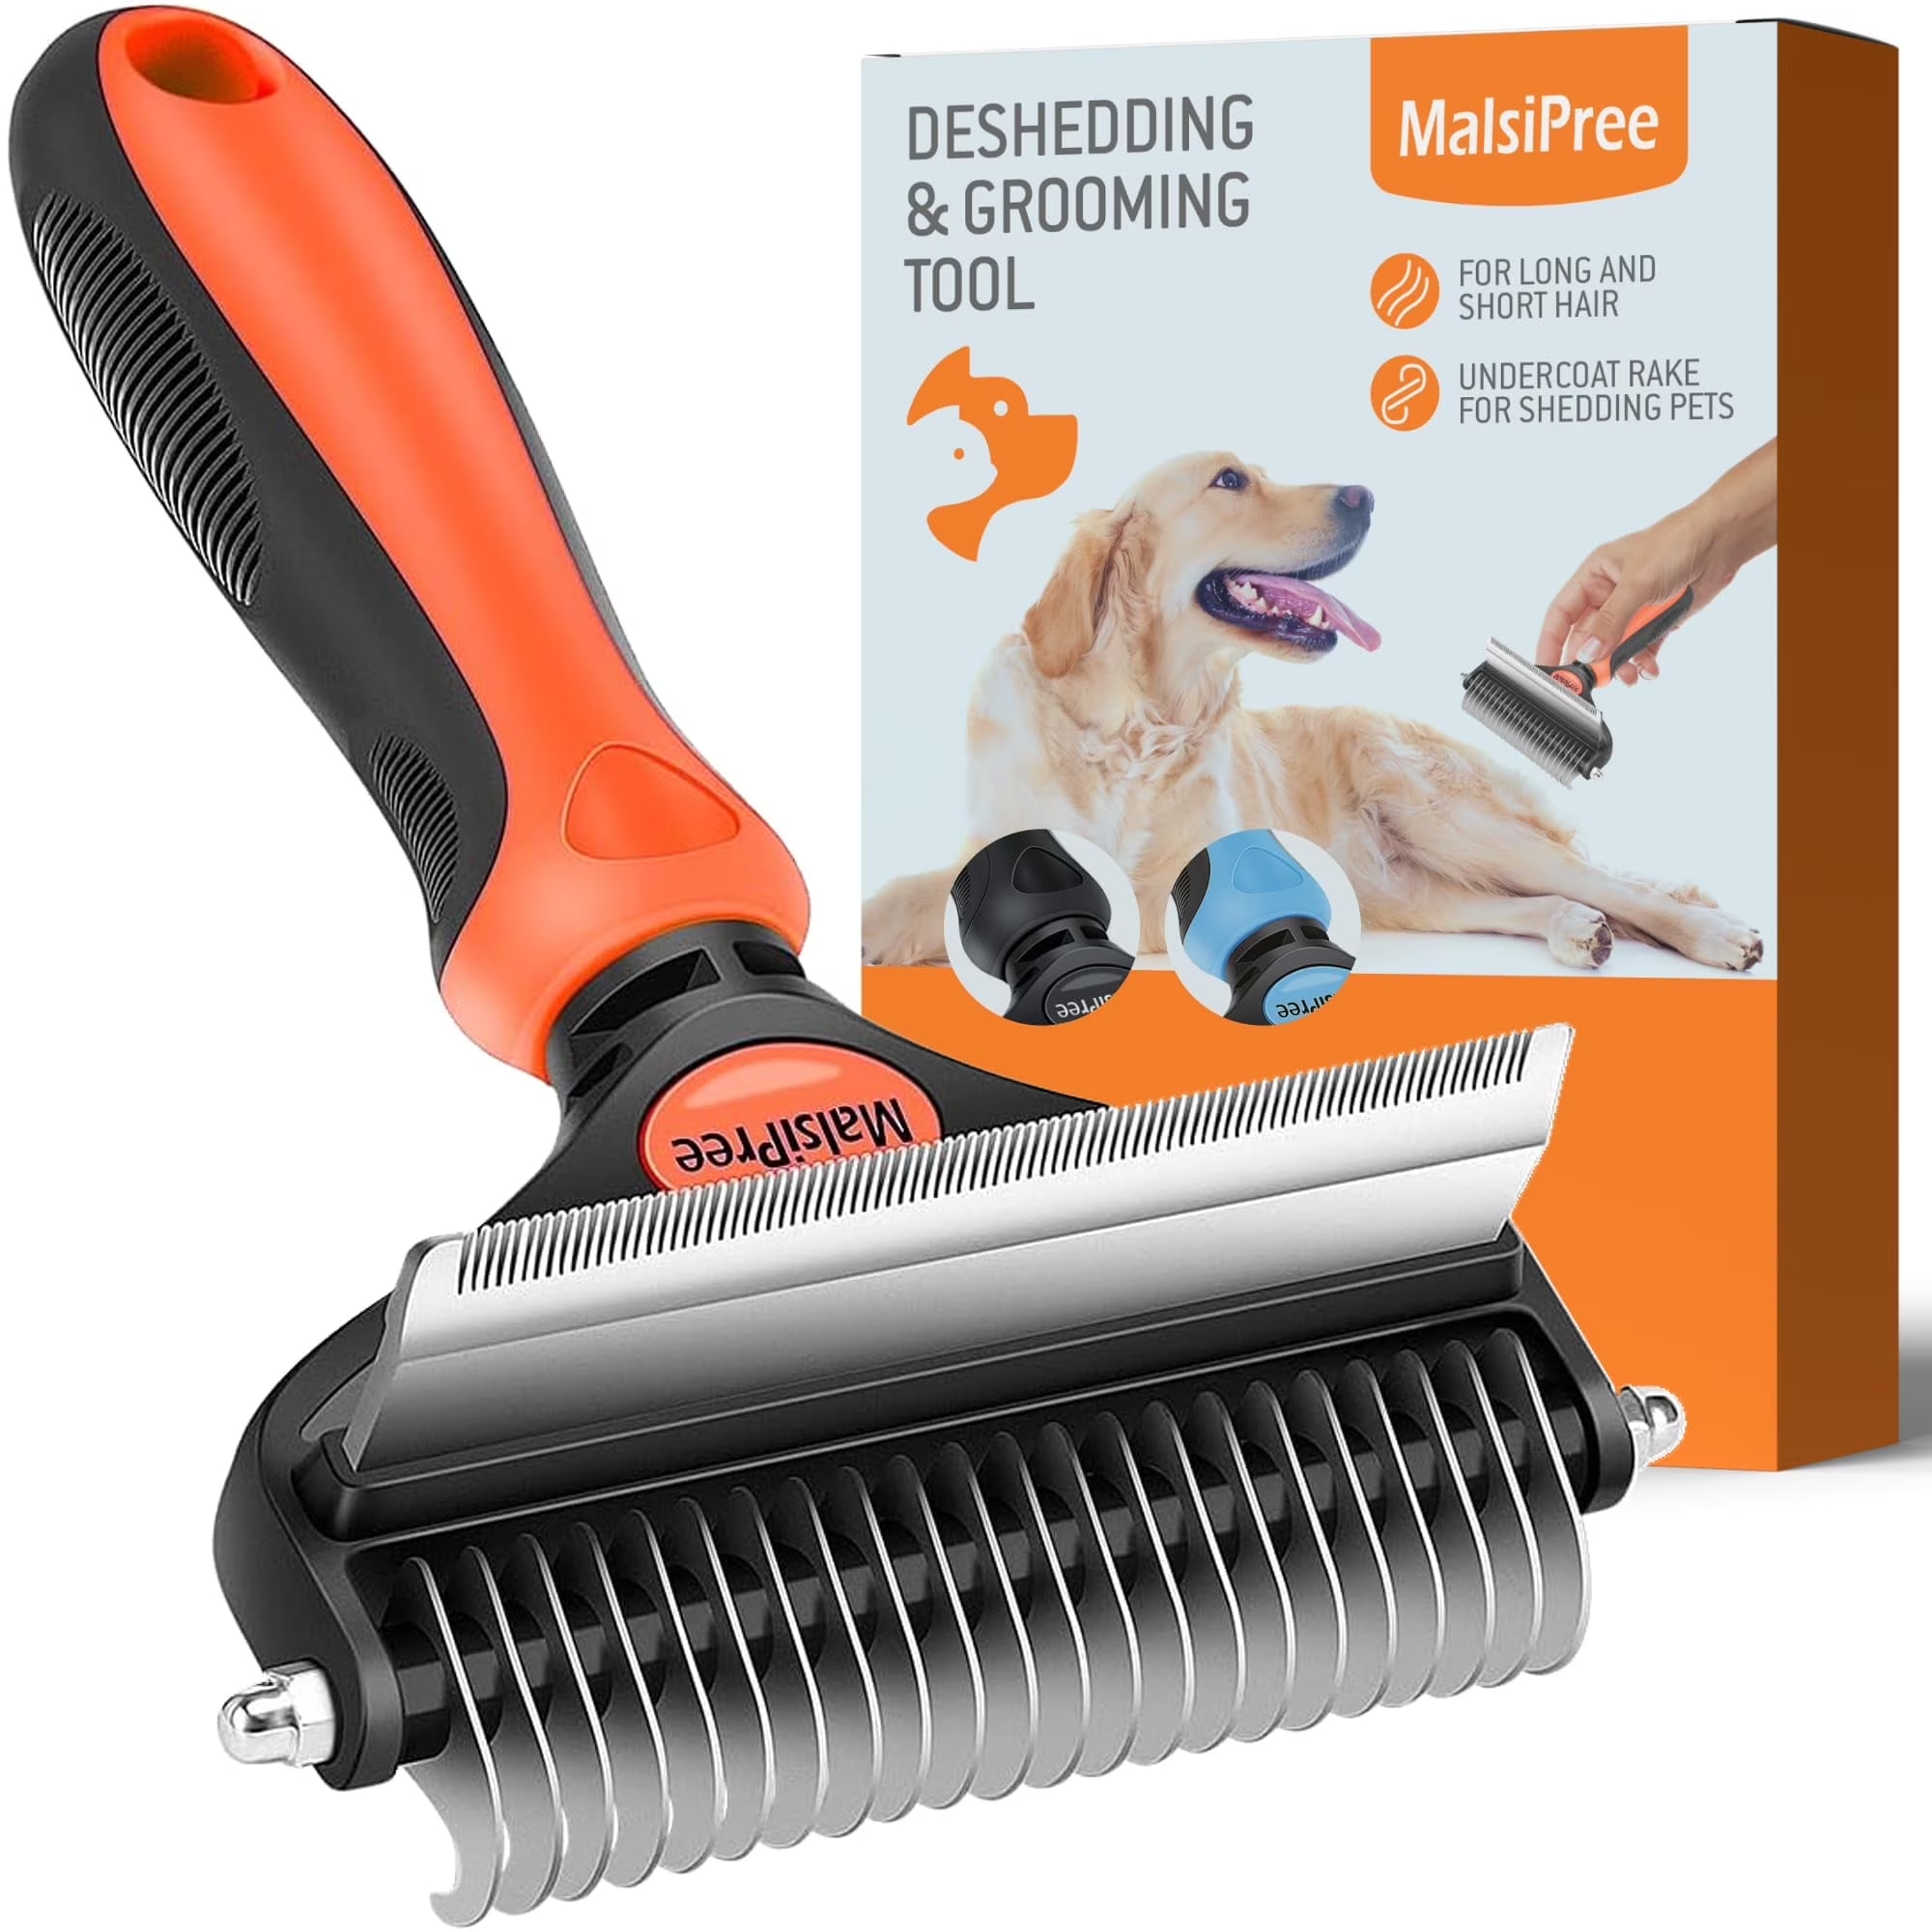
Image source: Bing (Web (fair-use with source credit))
Step 3: Dematting (The Right Way to Handle Tangles)
Even with a great routine, you'll hit the occasional mat. Here's the safe way to deal with it.
- For loose tangles: Spray with detangling spray. Use your fingers to gently pull the tangle apart. Then brush through with a slicker brush.
- For tight mats: Don't pull. Don't cut. Reach for your clippers with a #10 blade. Gently slide the blade under the mat, keeping it flat against the skin, and shave the mat out. Be extremely careful in sensitive areas like the armpits and groin, where the skin is thin and loose. It's always better to leave a little mat than to risk a serious cut.
Step 4: Bathing
You only bathe a clean, fully brushed coat. Brushing a dirty coat just grinds dirt deeper into the skin and makes mats tighter.
- Use lukewarm water, not hot.
- Dilute the shampoo in a cup of water before applying.
- Work the shampoo through the coat thoroughly, right down to the skin.
- Rinse. Then rinse again. Shampoo residue is a leading cause of skin irritation.
- Apply a dog-safe conditioner and leave it on for the recommended time before a thorough rinse.
Step 5: Drying (This Is Not Optional)
This step is vital. If you let your OES air-dry, every bit of loose undercoat will settle and tangle into tight mats. A high-velocity dryer is mandatory.
- Place your dog on a grooming table or a non-slip surface.
- Start on a low setting to get your dog used to the noise and sensation.
- Work in sections, fluffing the hair with one hand while directing the dryer nozzle with the other.
- Keep the nozzle moving to avoid concentrating heat on one spot. The goal is to blow the water off the hair and fluff it up so it dries completely.
- At the end, the coat should feel completely dry right down to the skin and be standing up, not lying flat.
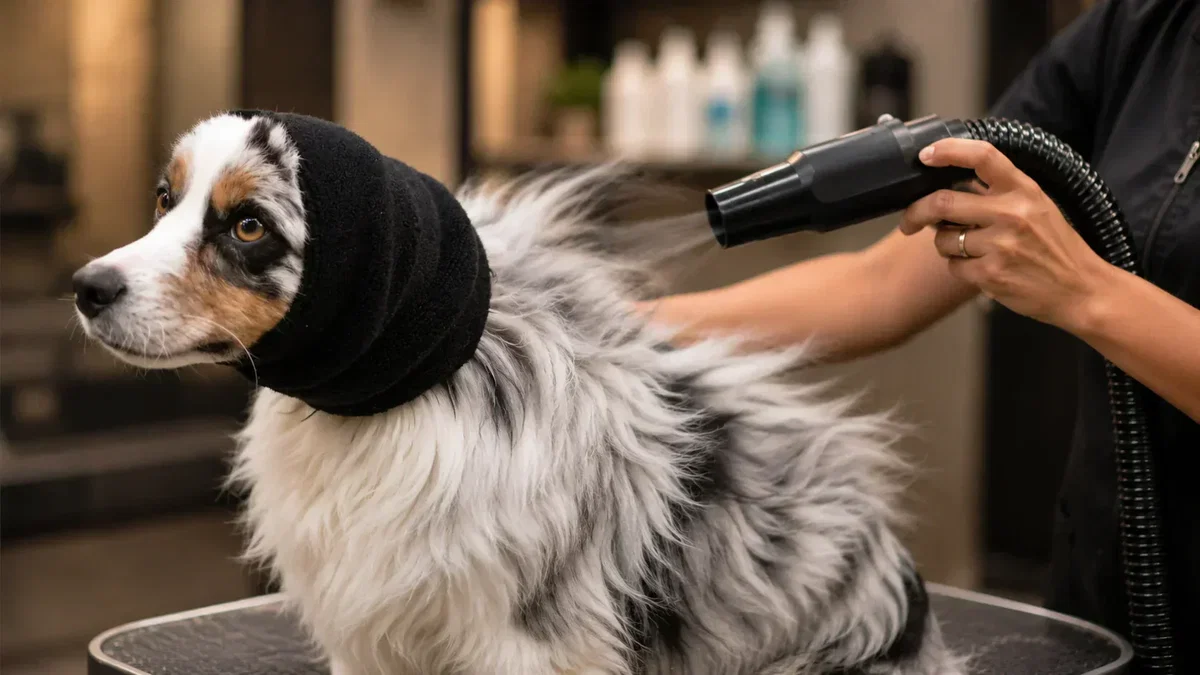
Image source: Bing (Web (fair-use with source credit))
Step 6: Clipping and Scissoring
This is where you define the look. Whether you're doing a full body clip or just a tidy-up, the key is to use the right blade for the right job.
- Sanitary Trims: Use a #10 blade to shave the hair around the anus and genitals. This keeps those areas clean and free of debris.
- Paw Pads: Use a #10 blade to shave the hair between the paw pads.
- Body Clip: Use your #7F or #5F blade for a full body trim. Work in the direction of hair growth for a smoother finish or against it for a more even, close cut.
- Scissoring: Use your curved shears to round off the feet, shape the rear end, and tidy up the tail. Be extra careful around the face, using small, precise cuts.
Step 7: Nails, Ears, and Final Check
Finish strong. This is where many amateur groomers drop the ball.
- Nails: Use a grinder or clippers. If using clippers, cut just below the quick, the pink part of the nail. If you hit the quick, apply styptic powder immediately.
- Ears: Apply ear cleaning solution to a cotton ball and wipe out the visible part of the ear canal. Never push a cotton swab into the ear. If you see hair deep in the ear, carefully pluck it with your fingers or a pair of hemostats.
- Final Comb: Go over the dog one last time with your greyhound comb. Check around the collar, behind the ears, and under the tail. Anywhere the comb snags needs more work.
The High-Risk Zones: Where Beginner Groomers Go Wrong
Certain areas of the OES are more prone to mats, nicks, and irritation. Knowing where to focus your attention helps you avoid the most common mistakes.
Armpits, Groin, and Ear Flaps
These areas have thin, loose skin and constantly rubbing surfaces. Mats form here first and fastest. The skin is also the most sensitive.
When brushing, be extra gentle. When clipping, use a light hand and keep the blade flat. A nick in these areas can bleed heavily and become infected.
Recognizing and Preventing Clipper Burn
Clipper burn happens when the blade gets too hot and irritates the skin. It shows up as red, sore patches that can develop into scabs. To prevent it:
- Use a cooling spray on the blade every few minutes.
- Check the blade temperature by touching it to your wrist.
- Take frequent breaks during long clips.
Mat Removal Risks
Cutting a mat close to the skin is dangerous, especially without proper visibility. The skin can bunch up and get caught in the blade before you even see it. Always pull the skin taut with your free hand while clipping.
And if you can't see the skin clearly, stop and seek professional help.
Common Grooming Mistakes and How to Fix Them
Everyone makes mistakes when learning how to groom an Old English Sheepdog. Here are the most common ones and how to correct them.
Brushing Only the Topcoat
This is the number one mistake. The topcoat looks smooth, so owners think they're done. Meanwhile, the undercoat is matting underneath.
Fix this by using the line-brushing technique every time. It forces you to reach the undercoat.
Over-Bathing and Drying Out the Skin
Bathing too often strips the coat of its natural oils. This leads to dry, brittle hair and flaky skin. Stick to a 4 to 6 week schedule.
If your dog gets dirty in between, spot-clean with a damp cloth or use a dry shampoo.
Using the Wrong Blade on Sensitive Areas
Using a #10 blade on the body leaves the skin exposed. Using a #7F blade for sanitary trims is ineffective and dangerous. Match the blade to the job.
Refer to the chart earlier in this guide if you're unsure.
Skipping the Pre-Brush Before the Bath
Wet hair tangles faster than dry hair. If you skip brushing before a bath, you'll create more mats than you started with. Always bath a fully brushed, tangle-free coat.
Ignoring Ear and Paw Health
Furry ears trap moisture and wax, and hair between the paw pads can collect debris and cause discomfort. Make these checks part of your routine, not an afterthought. A quick check during each grooming session prevents bigger problems later.
Grooming a Puppy vs. an Adult OES: What Changes
Grooming isn't a one-size-fits-all routine. Puppies need a different approach than adults. Here's what to expect at different life stages.
Why Early Handling Matters More Than Perfect Grooming
The most important thing you can do with a puppy is get them comfortable being handled. Start by touching their paws, ears, and tail regularly. Use treats and praise to make it positive.
The goal at this stage is not a perfect groom. It's building trust and preventing a lifetime of grooming battles.
Puppy Coat Transition: What to Expect at 6-12 Months
Puppies are born with a soft, fluffy coat. At around 6 months, this transitions to the adult coat. This is a chaotic period.
You'll see patchy lengths and lots of loose fur. Brush daily during the transition to help remove the puppy fluff and prevent tangles as the adult coat comes in.
Adjusting for Senior or Mobility-Challenged Dogs
Older dogs may have arthritis or joint pain. Standing for a long grooming session is uncomfortable. Break the groom into shorter sessions.
Groom one side, take a break, then finish the other. Use a non-slip surface to keep them stable. And be patient, they may not be as tolerant as they used to be.
Home Grooming vs. Professional Grooming: Honest Pros and Cons
Deciding whether to groom at home or visit a professional is a real question. Here's a balanced look at both options.
Cost Comparison
| Expense | Home Grooming | Professional Grooming |
|---|---|---|
| Upfront Cost | $150-$350 for tools and dryer | $80-$150 per session |
| Ongoing Cost | $20-$40 per year for shampoo and supplies | $400-$900 per year (8-10 visits) |
| Time Investment | 2-3 hours per session | 0 hours (drop-off and pick-up) |
| Skill Required | Moderate to high | Low (you're paying for expertise) |
When It's Worth Calling a Pro
There are times when a professional is the right call.
- Severe matting: If the coat is badly matted, a pro has the tools and experience to handle it safely.
- You're starting from scratch: If you've inherited a dog with a severely neglected coat, a full dematting and shave-down by a pro is the safest starting point.
- You're uncomfortable clipping: Clipping around sensitive areas is stressful. If you're not confident, a pro will do a better, safer job.
When You Can Confidently DIY
Home grooming is absolutely doable with practice. Start with brushing, bathing, and drying. Add clipping once you're comfortable with the tools.
Most owners find that with a consistent routine, they only need a professional every few months for a full clip.
Expert Tips for a Calmer, Easier Grooming Session
Grooming doesn't have to be a battle. With the right approach, it can be a bonding experience for you and your dog. The key is to understand what your dog is telling you.
Reading Your Dog's Stress Signals Before They Escalate
Dogs communicate with their bodies before they ever growl or snap. Watch for these early signs of stress:
- Licking lips or yawning when not tired
- Whale eye (showing the whites of their eyes)
- Ears pinned back against the head
- Stiff body posture
- Excessive panting
If you see these, stop what you're doing. Give your dog a break. Let them shake off the stress before continuing.
Pushing through only makes things worse.
Building a Grooming Routine That Doesn't End in a Fight
The key to a calm dog is consistency and positive association. Here's what works:
- Keep sessions short, 15-20 minutes for maintenance brushing.
- Use high-value treats throughout the session.
- End the session on a positive note before your dog gets overwhelmed.
- Groom a calm dog, not a revved-up dog. Take a walk first to burn off energy.
Keeping the Coat Manageable Between Full Groans
The gap between full grooms is where most owners get into trouble. Here's how to maintain a healthy coat in between:
- Stick to the 2-3 times per week brushing schedule.
- Use detangling spray on any area that feels rough.
- Check and clean ears weekly.
- Trim nails every 2-4 weeks.
The owner who brushes consistently between grooms has a completely different dog to work with than the owner who waits. A clean, tangle-free coat clips faster, easier, and looks better.
When to Seek Help: Red Flags That Require a Vet or Pro
Some issues are beyond what home grooming can fix. Recognizing these red flags early can save your dog from pain and you from a larger vet bill.
Skin Irritation, Hot Spots, or Unexplained Hair Loss
If you notice red, inflamed skin, bald patches, or areas where your dog is excessively licking or biting, stop grooming immediately. These are signs of an underlying skin condition that needs veterinary attention. Grooming tools can make it worse.
Mats So Tight They're Causing Pain or Sores
If you find mats that are tight against the skin and the skin underneath is red, irritated, or has open sores, don't try to fix it yourself. The risk of causing more injury is too high. A professional groomer can shave them out safely, and your vet should check the skin for infection.
Nail Bleeding That Won't Stop or Signs of Infection
If you've nicked the quick and the bleeding doesn't stop within 5-10 minutes with firm pressure and styptic powder, it's time to see the vet. Similarly, if you notice swelling, redness, or discharge around the nail, get it checked out.
Frequently Asked Questions
How long does a full groom take?
A full groom on an Old English Sheepdog takes 2 to 4 hours for a beginner. This includes brushing, bathing, drying, clipping, and nail care. Professional groomers can do it in 2 to 3 hours.
A severely matted dog can take much longer, which is why prevention is so important.
Can I completely shave my Old English Sheepdog in summer?
No. Shaving a double-coated breed down to the skin damages the coat and removes its natural insulation. This can cause overheating and permanent coat loss.
Instead, use a #7F blade to trim the coat shorter. This keeps your dog cooler while protecting the skin and undercoat.
What's the best way to remove burrs without hurting my dog?
Spray the burr and the surrounding area with a generous amount of detangling spray. Let it sit for a few minutes to soften the burr. Then, try to gently pull the burr apart with your fingers, working from the outside in.
Brush through with a slicker brush. If it's too tangled, carefully clip out the section with a #10 blade.
Do I really need a high-velocity dryer?
Yes. A high-velocity dryer is critical for an OES. Air-drying allows the undercoat to settle and mat as it dries.
The dryer fluffs the hair and removes loose undercoat, preventing mats and speeding up the grooming process. You can rent one or buy a basic model for around $100 to $150 new.
How often should I brush my puppy?
Brush your OES puppy at least 3-4 times per week, even if the coat is mostly soft puppy fluff. This builds the habit and prevents tangles as their adult coat starts to come in. Handle their paws, ears, and tail during every session to get them used to being groomed.