You know that feeling when you walk into the barn, reach for a handful of tail to braid or clean, and your fingers just stop? They hit a wall of compacted hay, dried mud, and tangles that feel more like felt than hair. We've all been there.
Learning how to wash and detangle a horse's tail properly is one of those skills that separates a calm, easy grooming session from a wrestling match that ends with you frustrated and your horse resenting the cross-ties.
The good news? A beautiful, brushable tail isn't about luck or expensive potions. It's about technique, patience, and understanding how equine hair actually behaves.
Equine tail hair has a coarser cuticle than human hair and a natural growth cycle that takes roughly two to three years to reach full length, making breakage prevention absolutely critical. Once you understand the rules of engagement, that mane of hair becomes a joy to work with, not a daily chore you dread.
Quick Answer
To wash and detangle a horse's tail, inspect it dry first and remove debris by hand. Wet the tail with lukewarm water. Apply conditioning equine shampoo using a vertical down-stroke.
Rinse completely. Towel press and wrap the tail. Never brush wet hair.
Once dry, apply detangler and brush from the bottom up in sections. Use a wide-tooth comb or soft tail brush. Patience prevents breakage.
Never use human shampoo on equine hair. Equine skin sits at a different pH balance, and human products strip natural protective oils.
Why Tail Care Feels Like a Battle (And How to End It)
Horses don't naturally have silky, tangle-free tails. Left to their own devices, they drag through mud, rub against stall walls, get chewed on by pasture mates, and collect burrs like magnets. The problem isn't the horse.
It's that most of us approach tail care backwards. We grab a brush, yank at the knots, and hope for the best.
That approach fights the physics of hair. When you brush a dry, dirty, tangled tail, you're not untangling it. You're stretching the hair shaft, snapping the cuticle, and pulling hairs out at the root.
Over time, this creates breakage that makes the tail look wispy and frayed, exactly the opposite of what you're trying to achieve.
The real battle ends when you stop forcing things and start working with the hair's natural structure. That means understanding the difference between washing the tailbone and washing the hair itself. It means knowing why a wide-tooth comb beats a stiff brush.
And it means accepting that detangling is a two-step process, not a single brutal session.
Here's the core principle to remember: Horse tail hair is strongest when it's clean and slightly conditioned, and weakest when it's dry, dirty, or soaking wet. Every decision you make should protect that strength.
Understanding the Tail: Anatomy, Hair Type, and Why It Tangles
Before you pick up a comb, you need to understand what you're working with. A horse's tail is not just a bundle of long hair. It's two distinct zones that demand completely different care.
The Dock vs. The Hair: Two Different Care Zones
The dock is the bony tailbone itself, comprised of the coccygeal vertebrae. It's covered in skin, sweat glands, and hair follicles. This area is sensitive.
Most horses don't mind you touching the hair lower down, but many will flinch or clamp their tail down if you grab the dock too firmly.
The tail hair grows from the dock and continues down, in some cases reaching the ground. This hair is coarse, dense, and slow-growing. Each hair shaft has a protective outer layer called the cuticle.
When that cuticle stays flat and smooth, the hair feels soft and reflects light. When it gets roughed up by friction, dirt, or harsh chemicals, the cuticle lifts. Rough cuticles catch on each other, and that's the very definition of a tangle.
Why Horse Hair Behaves Differently Than Human Hair
Your hair is fine, grows fast, and tolerates daily shampooing. Horse tail hair is the exact opposite. It's thick, grows at a snail's pace, and absolutely cannot handle harsh detergents.
Human skin sits at a pH around 5.5. That's mildly acidic. Equine skin sits at a pH between 7.0 and 7.5, which is slightly alkaline.
When you use human shampoo on a horse, you're applying an acidic formula to an alkaline surface. The result is stripped natural oils, dry brittle hair, and a compromised skin barrier that's more prone to irritation and fungal issues.
Even most equine shampoos are harsh if used too often. Washing removes the natural oils, called sebum, that keep the hair pliable. Remove too much, too often, and your tail becomes a dry, static-prone, matted mess.
That's why the frequency of washing matters just as much as the product you choose.
As of 2026, most reputable equine grooming brands formulate their shampoos specifically for the alkaline pH of horse skin. Look for products that say "pH balanced for horses" or "moisturizing." Steer clear of anything with heavy sulfates like sodium lauryl sulfate (SLS), which will strip oils aggressively.
The Prep Phase: Dry Inspection and Debris Removal
Here's the mistake almost everyone makes: they wet the tail first. That's backwards. Water has a magical way of turning dried mud into a cement-like paste and making small tangles swell into impossible knots.
The prep phase happens before any water touches the hair. It's quick, but it's non-negotiable if you want to avoid a nightmare.
Hand-Picking Burrs, Mud, and Shavings Before Water Hits
Start by standing to the side of your horse, not directly behind. You're in the kick zone if a fly bites them at the wrong moment. Gently pull the tail around to your hip and hold it near the dock with one hand.
Run your fingers through the hair in small sections, working from the bottom upward. You're not brushing. You're feeling for debris.
As soon as your fingers catch on anything, stop and assess.
- Burrs and stickers: Pinch the hair above the burr, then pull down. Don't yank sideways in a twisting motion, which can snap hair.
- Mud and manure: Break up dry chunks with your fingertips. Crumble them out before you introduce water.
- Wood shavings and hay: These weave themselves into the hair easily. A simple flick of the finger can usually dislodge them.
- Stall dust: This sits in the hair shaft and makes it gritty. You can't pick out dust, but it does wash out easily later.
This step takes two to three minutes for a well-maintained tail. It can take twenty if the tail is badly neglected, but the payoff is the same: you're removing the abrasive material that damages hair when you wash or brush.
Why You Should Never Brush a Dry, Tangled Tail
This deserves its own warning. Brushing dry, tangled hair is one of the fastest ways to destroy a tail.
When hair is dry and matted, the cuticles are already lifted and locked together. A brush, even a wide-tooth comb, will catch on those rough spots. You pull.
The resistance is too high. The hair stretches, the cuticle splits, and often the hair snaps and breaks off mid-shaft.
You also risk pulling the hair out at the root. That's far more aggressive damage. The horse feels a sharp, painful tug on their sensitive dock, and they learn to associate grooming with pain.
Instead of brushing dry tangles, use your fingers. Separate strands gently, working from the bottom up. Think of it as unraveling a necklace chain rather than ripping out a knot.
The goal is to break up large mats into smaller ones and loosen the hair enough that water and shampoo can penetrate.
If a tail is so matted that you physically cannot get your fingers through it, do not shave it as a first option. Shaving removes the follicles and can permanently alter hair growth. Instead, consult a professional groomer or your veterinarian.
They have the tools and experience to work out severe mats without harming the horse. Many neglected rescue horses require sedation for this kind of work, and that's exactly the moment to call in a professional.
Step-by-Step: Washing the Tail the Right Way
Now we get to the actual washing. Whether you do a full wash or a quick strip wash, the technique is identical. The only difference is how much water hits the dock and how much time you spend.
The single most important tip is this: never scrub in circles. Circular scrubbing twists the hair around itself, creating new tangles that didn't exist before. You want to work in one direction, from top to bottom, pushing products and dirt away from the dock.

Image source: Bing (Web (fair-use with source credit))
Choosing the Right Shampoo and Conditioner (pH Matters)
Your shampoo choice sets the entire tone for the wash. You want something specifically formulated for equine skin. The label should say "pH balanced" or be specifically designed for horses.
Here's what to avoid entirely:
- Human shampoo and conditioner
- Dish soap (it's a degreaser and will strip every bit of oil from the tail)
- Laundry detergent (same problem, plus harsh chemicals)
- Equine "clarifying" shampoos (these are for stripping product buildup before a show and should not be used weekly)
- Anything with heavy fragrance that lingers (smell attracts flies, and flies cause the horse to rub and whip their tail)
If your horse has a dry tail, look for a moisturizing formula that contains ingredients like biotin, panthenol, or aloe vera. If the tail is oily or picks up grime quickly, a regular equine grooming shampoo works fine, but condition after every wash.
Conditioner is not optional for most horses. It replaces the moisture you just stripped with the shampoo. If you have a horse that lives outside in the sun and wind, conditioner is the difference between a manageable tail and a dusty, static-filled mop.
The Vertical Squeeze Technique (Not Circular Scrubbing)
Now that your products are chosen, here's the method in practice.
- Wet the tail thoroughly. Use lukewarm water. Cold water makes the horse tense and doesn't break down dirt. Hot water strips skin oils. Hold the hose with the nozzle set to a gentle spray. Soak the tail from the dock down to the tips.
- Dilute the shampoo if you can. Concentrated shampoo is just that, concentrated. It can be too harsh straight from the bottle. Put a small amount in a bucket and add water, or apply a drop directly to wet hair and let the water help distribute.
- Start at the top, near the dock. Put a small amount of shampoo in your palm, rub your hands together, and apply it to the hair in a single, long stroke from the base down.
- Squeeze, don't scrub. Close your fingers around a section of hair and slide your hand all the way down to the end. This action rinses away dirt and old oil from the hair shaft. It does not twist or tangle the hair.
- Repeat for each section. Work your way around the entire tail, section by section. Most horses have a thick enough tail that you'll need to do four to six separate passes.
- Let it sit briefly. Let the shampoo work for one to two minutes. This gives the ingredients time to break down dirt at the microscopic level.
- Rinse from top to bottom. Rinse with the same gentle spray, matching the direction of the hair growth. Keep rinsing until the water runs completely clear. Soap residue is a magnet for dirt and makes the hair sticky to the touch.
- Apply conditioner using the same vertical technique. Squeeze a quarter-sized amount into your palm and apply it from top to bottom. Let it sit for two to three minutes, then rinse lightly. You want to leave a little bit of slip in the hair, so don't rinse it out completely.
Full Wash vs. Strip Wash: Which Method to Use When
Not every situation calls for a full, soapy wash. Frequent washing is actually detrimental. You want to condition your weekly routine around the horse's lifestyle.
| Method | When to Use | Water Level | Detergent Level | Drying Time |
|---|---|---|---|---|
| Full Wash | Deep clean, post-race or show, tail that's been stepped in or dragged through mud | Soaks the entire dock and hair | Full shampoo + conditioner | 2 to 4 hours loose, 4 to 6 hours wrapped |
| Strip Wash | Weekly maintenance, dust removal, light sweat cleanup | Water only on the hair shaft, not the dock | Shampoo only on hair below the tailbone | 1 to 2 hours |
For a strip wash, you're essentially pulling the tail to the side and washing just the hair that hangs down. You deliberately avoid scrubbing the dock area. This protects the sensitive skin at the base from becoming overly dry.
Rinse and condition as normal, but you can let the tail dry loose without wrapping.
A full wash is necessary when you're preparing for a competition or when the tail has encountered something especially gross. A tail that's been dragged through a muddy paddock, a tail that has a buildup of sweat and grime, or a tail that's been used as a fly swatter all day in the summer. These situations call for the deep clean of a full wash.
The Drying Process: The Step Everyone Gets Wrong
If there's one step that spreads more frustration and breakage than brushing dry tangles, it's drying. The standard routine goes like this: wash the tail, grab a towel, vigorously rub it dry, then pick up a brush.
Stop. Right there.
Wet equine hair is at its most fragile state. When hair is wet, the cuticle swells and the shaft stretches easily. Brushing wet hair doesn't remove tangles. It stretches the hair beyond its limits and causes permanent structural damage, known as "wet brushing breakage." The hair splits, frays, and eventually snaps off.
You'll see a shorter, wispier tail months down the line and wonder why, even though you washed it "so well."
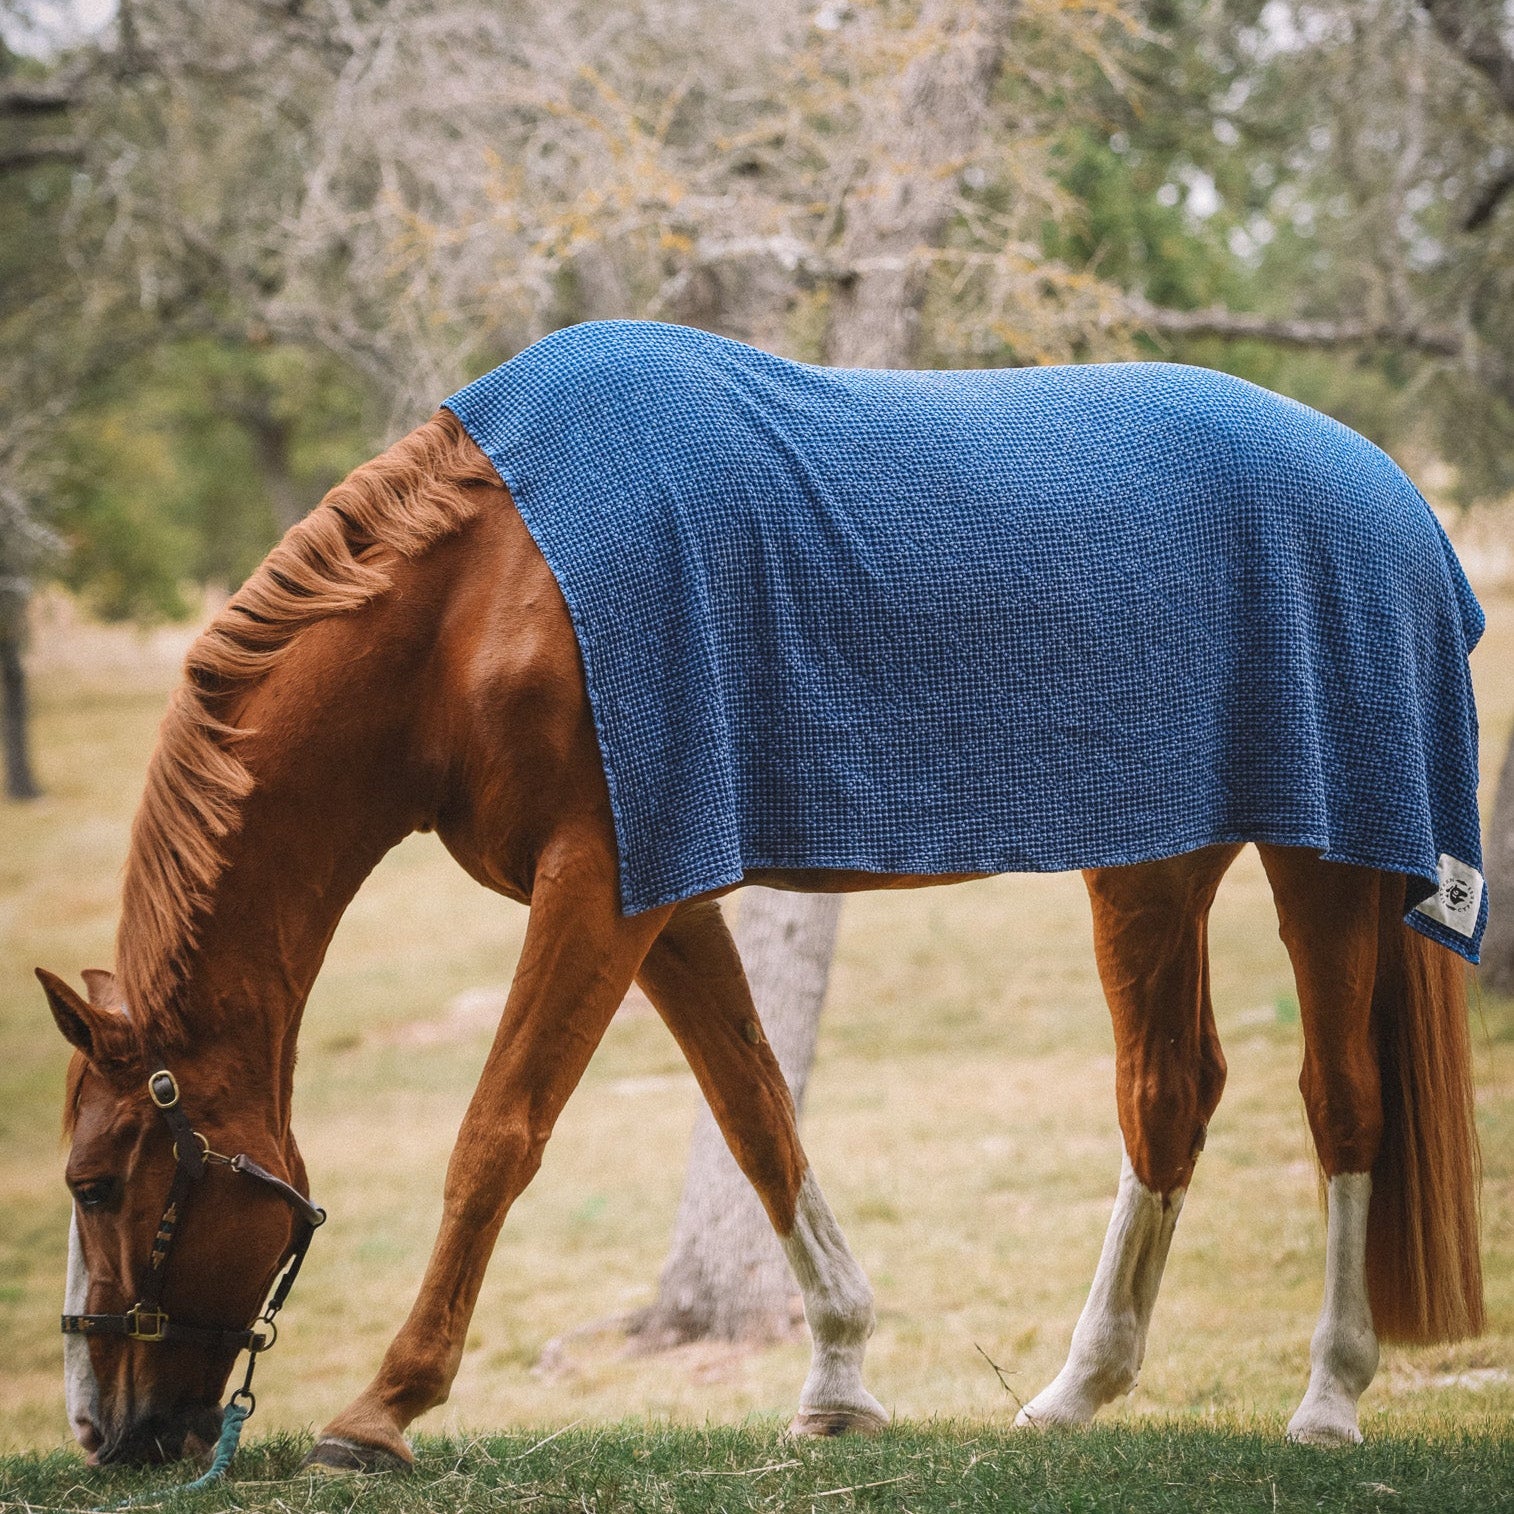
Image source: Bing (Web (fair-use with source credit))
Why Brushing Wet Hair Ruins the Tail
Wet brushing pulls the hair irregularly. The cuticle gets stretched and tears. Even if you're using the gentlest wide-tooth comb, you're forcing the comb to break through water bonds that glue the hair strands together.
Instead of brushing, you need a different drying method before you ever pick up a comb. This method is called dry-to-damp towel wrapping. It removes excess moisture, flattens the cuticle, and leaves the hair in a state that's ready for a comb without being soaking wet.
Towel Wrapping and the Plait-and-Bag Method
Once you've conditioned and rinsed, follow this sequence:
- Squeeze out excess water. Gently press the water out of the tail with your hands. Don't wring it like a dishcloth. Imagine you're pressing a sponge down the length of the hair.
- Use a dry towel. A standard cotton towel is best. Microfiber works too, but cotton absorbs a huge amount of water.
- Never rub. Rubbing causes friction, which causes tangles and breaks. Instead, wrap the towel around the tail and apply steady pressure, sliding your hands down the tail.
- Repeat with a second dry towel. You want the tail to feel just damp, not dripping.
- Wrap the tail and secure it. Wrap the towel around the tail from the bottom up. Fold the tail upwards, like you're folding paper, and secure the towel loosely with a tail bag or a large sock. The towel will absorb the remaining moisture while the tail stays contained.
- Leave it for 30 to 60 minutes. You're not aiming for the tail to be completely dry inside the towel. You're just getting the excess water out so the tail dries evenly without dripping and collecting dust and shavings.
Once the tail is damp, that's your window to detangle. The hair still has some flexibility from the conditioner, but it's not so fragile that a comb will cause damage.
After the towel wrap, you can also use a plait-and-bag method. Plait the tail loosely into three sections, fold it up, and secure it in a tail bag. This keeps the tail from dragging on the ground and picking up shavings while it dries.
It also helps the hair dry straighter and reduces the chance of it tangling into its own knots.
How to Detangle Without Pulling Hair Out
This is where the patience comes in. Detangling is not a single swipe from the dock to the tip. It's a deliberate process that works from the bottom up, and it requires the right tool.

Image source: Bing (Web (fair-use with source credit))
Divide and Conquer: Sectioning the Tail
Grab a small section of the tail, about two to three inches wide. Work on that section from the bottom up until it's completely tangle-free. Then move to the next section.
This is called "sectioning." It's a far better method than trying to brush the entire tail in one go.
Hand-Picking First: The Forgotten Step
Before the comb even touches the hair, use your fingers. Work through the tangled section with your fingertips, separating the strands. This is especially important for small, tight knots that are common at the ends of the tail.
Think of it as a warm-up for the hair. You're increasing the slip and breaking up the largest tangles without any mechanical stress.
The Bottom-Up Brushing Rule
Always start brushing from the bottom. Put the comb through the hair at the very tip of the section, close to the end. Gently pull the comb down.
Then move your grip up the hair by two to three inches, place the comb there, and brush down again. Keep moving up the section until you reach the dock.
This method prevents the comb from hitting a snag and pulling directly on the sensitive tail root. It also gives you the chance to feel the resistance. If the comb refuses to go through a knot, stop.
Don't push harder. Go back to hand-picking, apply more detangler, and try again.
Best Tools: Wide-Tooth Combs vs. Tail Brushes
You have two main tool options, and they serve different purposes.
Wide-Tooth Comb:
- Best for working out existing tangles and mats.
- The gaps between teeth are wide enough to allow the hair to pass through without catching.
- Look for a comb with rounded, smooth teeth that won't scratch the hair shaft.
- Avoid plastic combs with sharp seams that can slice through the cuticle.
Tail Brush (Soft Bristle or Flexible Pin):
- Best for daily maintenance, smoothing, and finish work.
- Uses flexible, long pins that flex and separate the hair without breaking it.
- Typically used on a dry, clean tail that doesn't have any major tangles.
- The soft pins also provide a gentle massage to the dock if you use the brush to smooth the hair at the root.
Here's a quick breakdown to help you choose:
| Tool | Best For | Watch Out For |
|---|---|---|
| Wide-Tooth Comb | Detangling knots, working through conditioner | The teeth can still be too tight for fine or split hair |
| Tail Brush (Soft Bristle/Pin) | Daily smoothing, finish work, removing dust from the dock | Can't handle major knots, will snap hair if too aggressive |
| Shedding Blade | Thick winter coats, removing loose undercoat | Too sharp for the long, delicate tail hair, will cut and fray |
The Golden Rule: Never use a shedding blade on a horse's tail. It will strip off the protective outer layer and ruin the hair.
The Right Way to Brush a Tail
You've got your tools, your detangler, and your horse is standing quietly. Now what?
First, position yourself correctly. Stand to the side, not directly behind the horse. Pull the tail around so you can see the full length of the hair you're working on.
Hold the tail gently with your non-brushing hand. This is called "anchoring." When you anchor, you create a stable point. If the comb snags a knot, the pressure is absorbed by your hand, not yanked against the horse's tailbone.
Your horse feels a gentle tug, not a sharp jerk.
Now, start at the bottom. Take a section of tail that's about two to three inches wide. Begin brushing at the very tips of the hair, just the last inch or two.
Use a short, smooth stroke, and lift the comb out at the end of each stroke. Don't drag the comb all the way from bottom to top in one go.
Work your way up the section, two to three inches at a time. Brush a few strokes at the new height, then move up again. Keep doing this until you reach the dock.
Then move to the next section.
Here's the golden rule: Never pull the comb from the bottom all the way to the top in one stroke. That's how you split ends. That's how you hit a hidden knot and rip out a clump of hair. That's how you make your horse hate grooming.
When you hit a knot, don't fight it. Stop, hold the hair above the knot with your anchor hand, and gently work the comb through it. If it refuses to budge, put the comb down and use your fingers.
You'll get a better grip and a better feel for how to unravel it.
Once the tail is fully detangled, you can do a final pass with a soft-bristled tail brush to smooth everything out. But this is only for the finished look. Never use a stiff brush on a tail that has any trace of a tangle left.
Common Mistakes That Cause Breakage and Hair Loss
If you've been doing everything right and your horse's tail still looks thin and frayed, it's time to check your habits. Here are the common mistakes that lead to breakage and hair loss.
Over-Shampooing and Residue Build-Up
Washing your horse's tail every day with shampoo is a death sentence for the hair. The natural oils your horse produces are there for a reason. They create a protective film that keeps the cuticle flat and smooth.
When you strip those oils away, the hair becomes dry, brittle, and prone to splitting.
Residue build-up is also a silent killer. Most shampoos and conditioners leave some residue, especially if they contain silicones. When you don't rinse thoroughly, this residue collects dust and dirt, making the tail feel sticky and heavy.
Those sticky sections are magnets for tangles. The answer is not to wash more often, but to rinse more thoroughly and condition properly.
Starting at the Dock (and Other Brushing Errors)
The biggest error is starting your brush at the top of the tail and dragging it all the way down. This is a recipe for severe breakage. When you hit a knot lower down, you're pulling the entire weight of the tail against that knot.
The hair has to give, and it gives by snapping.
Also, never brush a tail that's soaking wet. See the drying section above.
Product Mistakes: Human Shampoo, Heavy Oils, and Spray Overload
Human shampoo is too acidic for horse skin. Using it repeatedly disrupts the skin's natural microbiome, making the skin more susceptible to fungal infections like rain rot.
Heavy oils like vegetable oil, olive oil, or pure coconut oil can be problematic. A little bit can help condition, but too much attracts dirt like a magnet. If you put too much oil on your horse's tail, it'll go from silky to grimy in a single turn out session.
Spray overload is the final mistake. People see a detangler spray and think a little more can't hurt. But too much spray leaves a sticky film that traps dirt.
Use moderate, targeted spritzes. When in doubt, less is more.
How Often Should You Wash and Detangle? Setting a Routine
There's no universal schedule that works for every horse. But there are some solid guidelines based on your horse's lifestyle, coat type, and the season.
The Maintenance Schedule
| Horse Lifestyle | Full Wash | Strip Wash | Detangle/Brush |
|---|---|---|---|
| Pasture horse (daily turn out) | Every 2 to 3 weeks | Weekly | Daily, 5 minutes |
| Stalled horse (no turn out) | Monthly | Every 2 weeks | Every 2 to 3 days |
| Competition horse (shows weekly) | The night before each show | 2 to 3 times per week | Daily |
| Senior horse (dry, brittle hair) | Every 3 to 4 weeks | Every 2 weeks, with extra conditioner | Daily, gentle hand-picking |
The key is to listen to the tail, not the calendar. If the hair feels dry and straw-like, you're washing too often. Back off on the shampoo and lean harder on the conditioner.
If the tail feels greasy or looks dirty even after brushing, you're not washing often enough.
Seasonal Adjustments
Summer: Dust, sweat, and flies are the enemies. Rinsing with plain water after a hard ride can do wonders without stripping oils. A light detangler spray after the rinse helps keep the tail from drying out in the sun.
Winter: Cold weather means less washing. The horse's natural oils provide insulation and protection. Stick to dry brushing and hand-picking.
Reserve full washes for special occasions or when the tail gets genuinely filthy.
Spring: This is shedding season. The hair is coming out in clumps, and the tail often looks thinner than usual. Increased grooming helps remove the dead hair.
Be patient. New growth will come in over the next few months.
Autumn: Burrs and grass seeds are at their worst. Check the tail daily for debris. The dry, gusty weather can also increase static electricity, making the hair fly away and tangle.
A leave-in conditioner helps here.
Special Situations: Severely Matted Tails, Burrs, and Show Prep
Sometimes, the tail is beyond your routine care. Maybe you've adopted a rescue horse, or a tail rubbed out while a horse was on stall rest. Whatever the reason, a severely matted tail needs a different strategy.
Working Out a Neglected or Matted Tail
This sounds harsh, but it's the truth: sometimes you have to accept that you won't save every strand. If a tail is completely matted into a solid mass, your goal is to save as much healthy hair as possible while removing the dead weight.
- Soak the tail in warm water and conditioner. Fill a bucket with lukewarm water and add a generous amount of silicone-based detangler or conditioner. Let the tail soak for 15 to 20 minutes. This softens the dirt and lubricates the hair.
- Work from the outside in. The edges of the mat are usually the easiest to free. Use your fingers to tease apart the outer layers of the mat.
- Use a metal pick carefully. A metal grooming pick can help separate stubborn strands, but use it gently. You don't want to scratch the hair or your hands.
- Consider the scissors. If you hit a section that's completely felted to the skin, it might be safer to cut it out. Leaving a wad of matted hair isn't just ugly. It traps dirt, moisture, and can cause skin infections. Cut carefully, parallel to the skin, and only cut the mat.
If the tail is matted to the point where the skin is irritated, or if the horse won't let you near it, stop. Call your vet. They can sedate the horse, which removes all the danger, and carefully work out the mats.
In extreme cases, they may shave the tail and start fresh. It's not pretty, but it's better than leaving a painful, infected mess.
Burr Removal Without Shaving
Burrs are the worst. They latch onto hair with tiny hooks, and pulling at them makes them dig in deeper. Here's the trick:
- Isolate the burr. Grab the hair above and below the burr.
- Apply a slick product. A dollop of conditioner, baby oil, or a silicone spray helps loosen the grip.
- Pinch and roll. Pinch the burr between your thumb and forefinger and gently roll it. This breaks the tension and releases the hooks.
- Slide, don't pull. Once the burr is loose, slide it down the hair shaft, rather than ripping it away.
- Brush it out. After a few minutes, the burr should drop off or slide out with a gentle pull.
Tail Care for Competition and Braiding
A show tail is the pride of the barn. But braiding and banding put stress on the hair that can lead to breakage at the base.
Here's what competition riders do to protect their horse's tail:
- Use a leave-in conditioner before braiding. This provides a protective layer against the rubber bands or thread.
- Braiding on a slightly damp tail. The hair has more give, which prevents breakage.
- Alternate the braid pattern. Don't braid the exact same section of hair every week. Change the position slightly to distribute the stress.
- Wrap the tail for travel. A tail bag prevents the braid or the tail itself from rubbing against the trailer.
Safety and Handling: Keeping You and Your Horse Safe
Tail care is about grooming, but it's also about safety. A horse that's startled, in pain, or just in a bad mood can cause serious injury in the blink of an eye.
Positioning and Reading Your Horse's Body Language
Your position relative to the horse is your first defense. Never stand directly behind the horse. That's the kill zone.
A kick from a horse can fracture bones, and standing behind them, you won't see it coming.
Stand to the side. Pull the tail over to your hip or thigh. This does two things: it puts you out of the direct line of fire, and it lets the horse feel where you are.
Watch the horse's ears. Pinned ears are a warning. A raised head and a swishing tail with tense muscles mean they're getting annoyed.
If you see those signs, take a step back and assess the situation. Is the tail sensitive? Are you pulling too hard?
Did you accidentally hit a sore spot?
Most horses will tolerate grooming for short periods, but they get bored and restless. Keep sessions short and reward them with a treat when they stand quietly. If your horse is particularly sensitive around the tail, start with just touching the tail.
Then run your hand down. Then pick up the grooming tools. Desensitization takes time, but it's the safest path.
When to Call a Vet or Professional Groomer
Even the most patient, careful owner runs into situations where they need backup.
- The tail is matted to the skin. This is a medical issue. Matted hair traps moisture and can lead to bacterial or fungal infections.
- You see signs of skin irritation. Redness, swelling, scabs, or lesions on the dock area. This could be rain rot, ringworm, or a bacterial infection that needs treatment.
- The horse is violently resistant. If the horse is kicking, striking, or trying to climb out of the cross-ties, they're not being "bad." They're scared or in pain. Stop and ask a vet to evaluate them.
- You're unsure about a difficult mat. A professional groomer has the experience and tools to work out even the worst tangles safely. Don't risk hurting your horse or yourself.
Regional and Climate Considerations
Your horse's tail care routine should change with your environment. What works in a dry Arizona summer is completely different from a wet Washington winter.
Hot and Dry Climates
The biggest enemy in a desert or dry climate is static and breakage. The air has no moisture, which means the hair constantly loses water and becomes dry and brittle.
- Increase conditioning frequency. A leave-in conditioner or a daily spray detangler is essential.
- Watch for sun bleaching. The sun breaks down the hair shafts, making them weak and pale. A UV-protectant spray is worth the investment in these climates.
- Use a tail bag. It protects against dust and sun.
Cold and Wet Climates
Wet, freezing weather creates a different problem. Moisture gets trapped in the hair, and if the tail gets wet and then freezes, the ice crystals physically fracture the hair shafts.
- Dry the tail thoroughly after any turnout. A tail that stays wet overnight in a cold stall becomes a breeding ground for frostbite and fungal infections.
- Consider a tail cover. This is a simple fleece or nylon sleeve that covers the tail and keeps it dry.
- Reduce the number of full washes. Cold weather means less sweat, so the tail doesn't need as much deep cleaning. Lean on dry brushing and hand-picking.
Humid and Wet Climates
Humidity means moisture in the air, which can make the tail feel heavy and limp. It also creates the perfect environment for bacteria and fungus.
- Higher grooming frequency. Moisture and heat speed up the growth of microbes.
- Deeper cleaning at the dock. This area traps sweat and dirt, which is a recipe for rain rot.
- Allow for proper drying time. A tail that air-dries slowly in humidity can develop a musty odor.
High Elevation and Mountain Climates
High altitude means more UV radiation and thinner, drier air. The effects are similar to a hot, dry climate, but they happen with cooler temperatures.
- UV protection is critical. The sun's rays are stronger at altitude.
- Beware of intense winds. Gusty winds tangle hair rapidly. A tail bag or a loose braid will protect the tail during turnout.
The Ultimate Checklist for Tail Care
Here's a simple checklist you can keep in your barn to ensure you're not missing any steps. Print it, hang it, and tick it off every time you groom your horse.
Daily (Turnout or Stall)
- Check for debris. Remove burrs and mud by hand.
- Quick brush with a soft brush. (5 minutes)
Weekly
- Hand-pick and detangle, using the bottom-up method. (10 minutes)
- Apply a small amount of leave-in conditioner to the ends.
- Trim split ends if you see them.
Bi-Weekly (Every 2 to 3 Weeks)
- Full wash with pH-balancing equine shampoo.
- Rinse thoroughly.
- Apply conditioner. Let it sit for 2 minutes.
- Rinse lightly.
- Towel-wrap to dry.
- Detangle once damp.
- Apply finishing oil for shine.
Monthly
- Check the health of the dock. Look for redness, flaking, or soreness.
- Inspect for lice or nits, especially if the horse rubs.
- Evaluate the tail's growth and appearance.
Frequently Asked Questions
Can I use baby oil or coconut oil on my horse's tail?
Yes, in small amounts. A few drops of coconut oil rubbed between your palms and applied to the hair can provide some shine and moisture. But use it sparingly.
Too much oil attracts dust and dirt, which makes the tail heavier and more likely to tangle. Baby oil is a mineral oil, and it can help release mats more easily than coconut oil, so it's a solid option for emergency detangling.
How long does it take for a horse's tail to grow back?
On average, a horse's tail grows about half an inch per month. If you have a horse with a full-length tail that was shaved or cut, it can take two to three years to reach its former glory. That's why every single hair you save matters.
Proper care prevents breakage, which means you're not constantly waiting for new growth to catch up.
What's the difference between a spray detangler and a leave-in conditioner?
They do similar jobs, but the formulations are different. A spray detangler is typically lighter and designed primarily to smooth the hair for brushing. A leave-in conditioner is thicker, more moisturizing, and designed to be left on the hair for long-term hydration.
If your horse's tail is dry and brittle, you might prefer a leave-in conditioner as a base, with the detangler spray as a finishing touch before you brush.
Is it better to wash a horse's tail with hot or cold water?
Lukewarm water is the only correct answer. Hot water strips the natural protective oils from the hair and skin. Cold water doesn't break down dirt effectively and can make the horse tense.
Test the water on your own wrist, just like you would for a baby. If it feels too cold or too warm for you, it's wrong for your horse.
My horse's tail is thinning. What's the cause?
There are three common culprits. First, breakage through improper grooming habits like brushing wet hair or over-brushing. Second, irritation from a dirty tail that causes the horse to rub against the stall wall.
Third, a health issue like a parasite problem, a thyroid condition, or a nutritional deficiency leading to poor hair growth. If the tail is thinning and you haven't changed your routine, call your vet for a check-up.
How do I keep my horse's tail from tangling while they're turned out?
Daily maintenance is the answer. A tail that's detangled, conditioned, and clean is much less likely to pick up debris and knot. Some owners also use a tail bag during the day, though this can irritate some horses.
A better strategy is to keep the tail trimmed to just above the fetlock, which reduces the risk of the horse stepping on it and pulling out hair. If you have a horse that chews its tail, a bitter anti-chew spray can help break the habit, or you may need to address the underlying boredom or stress.